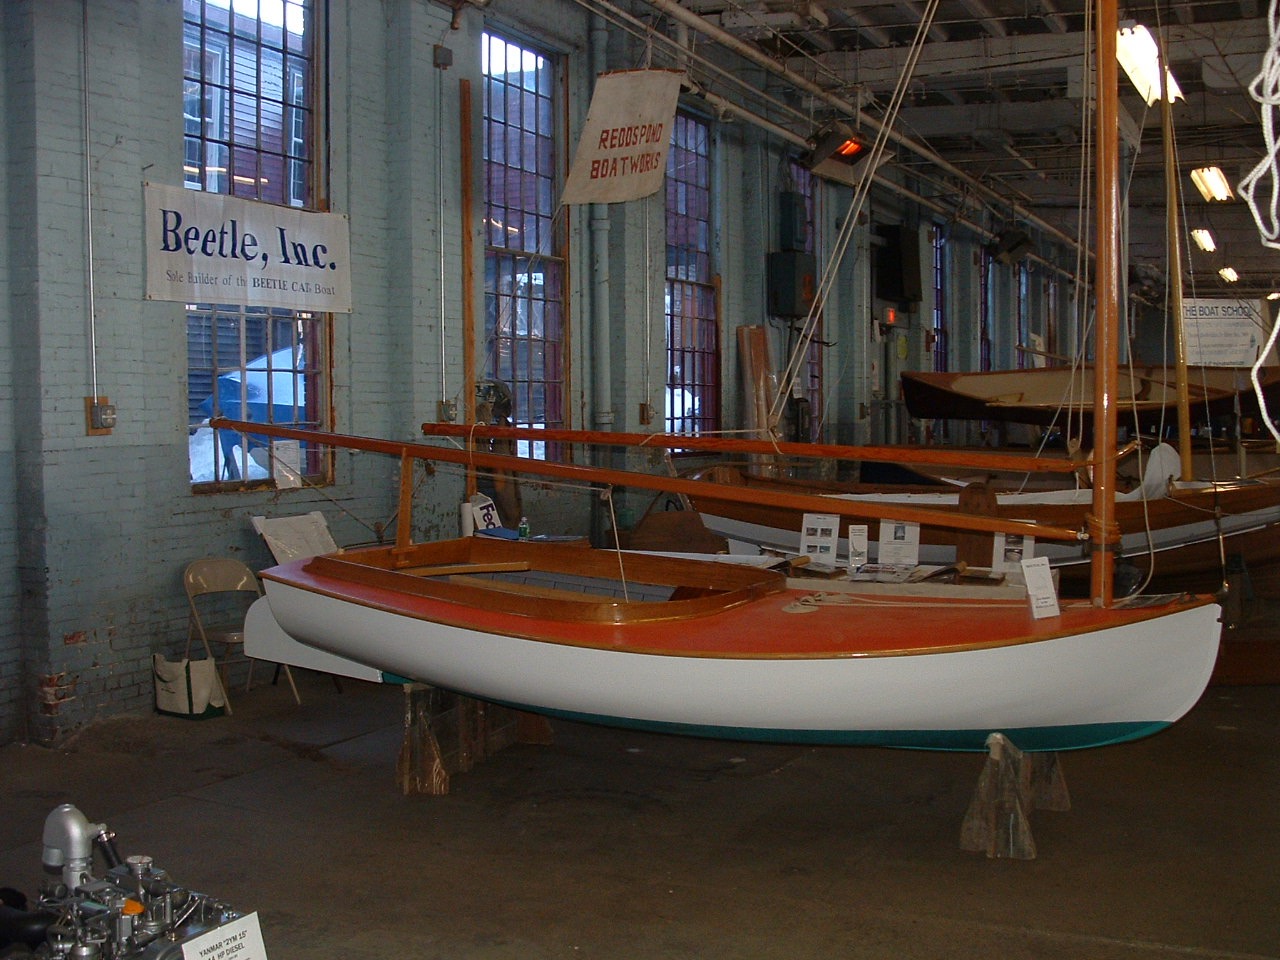
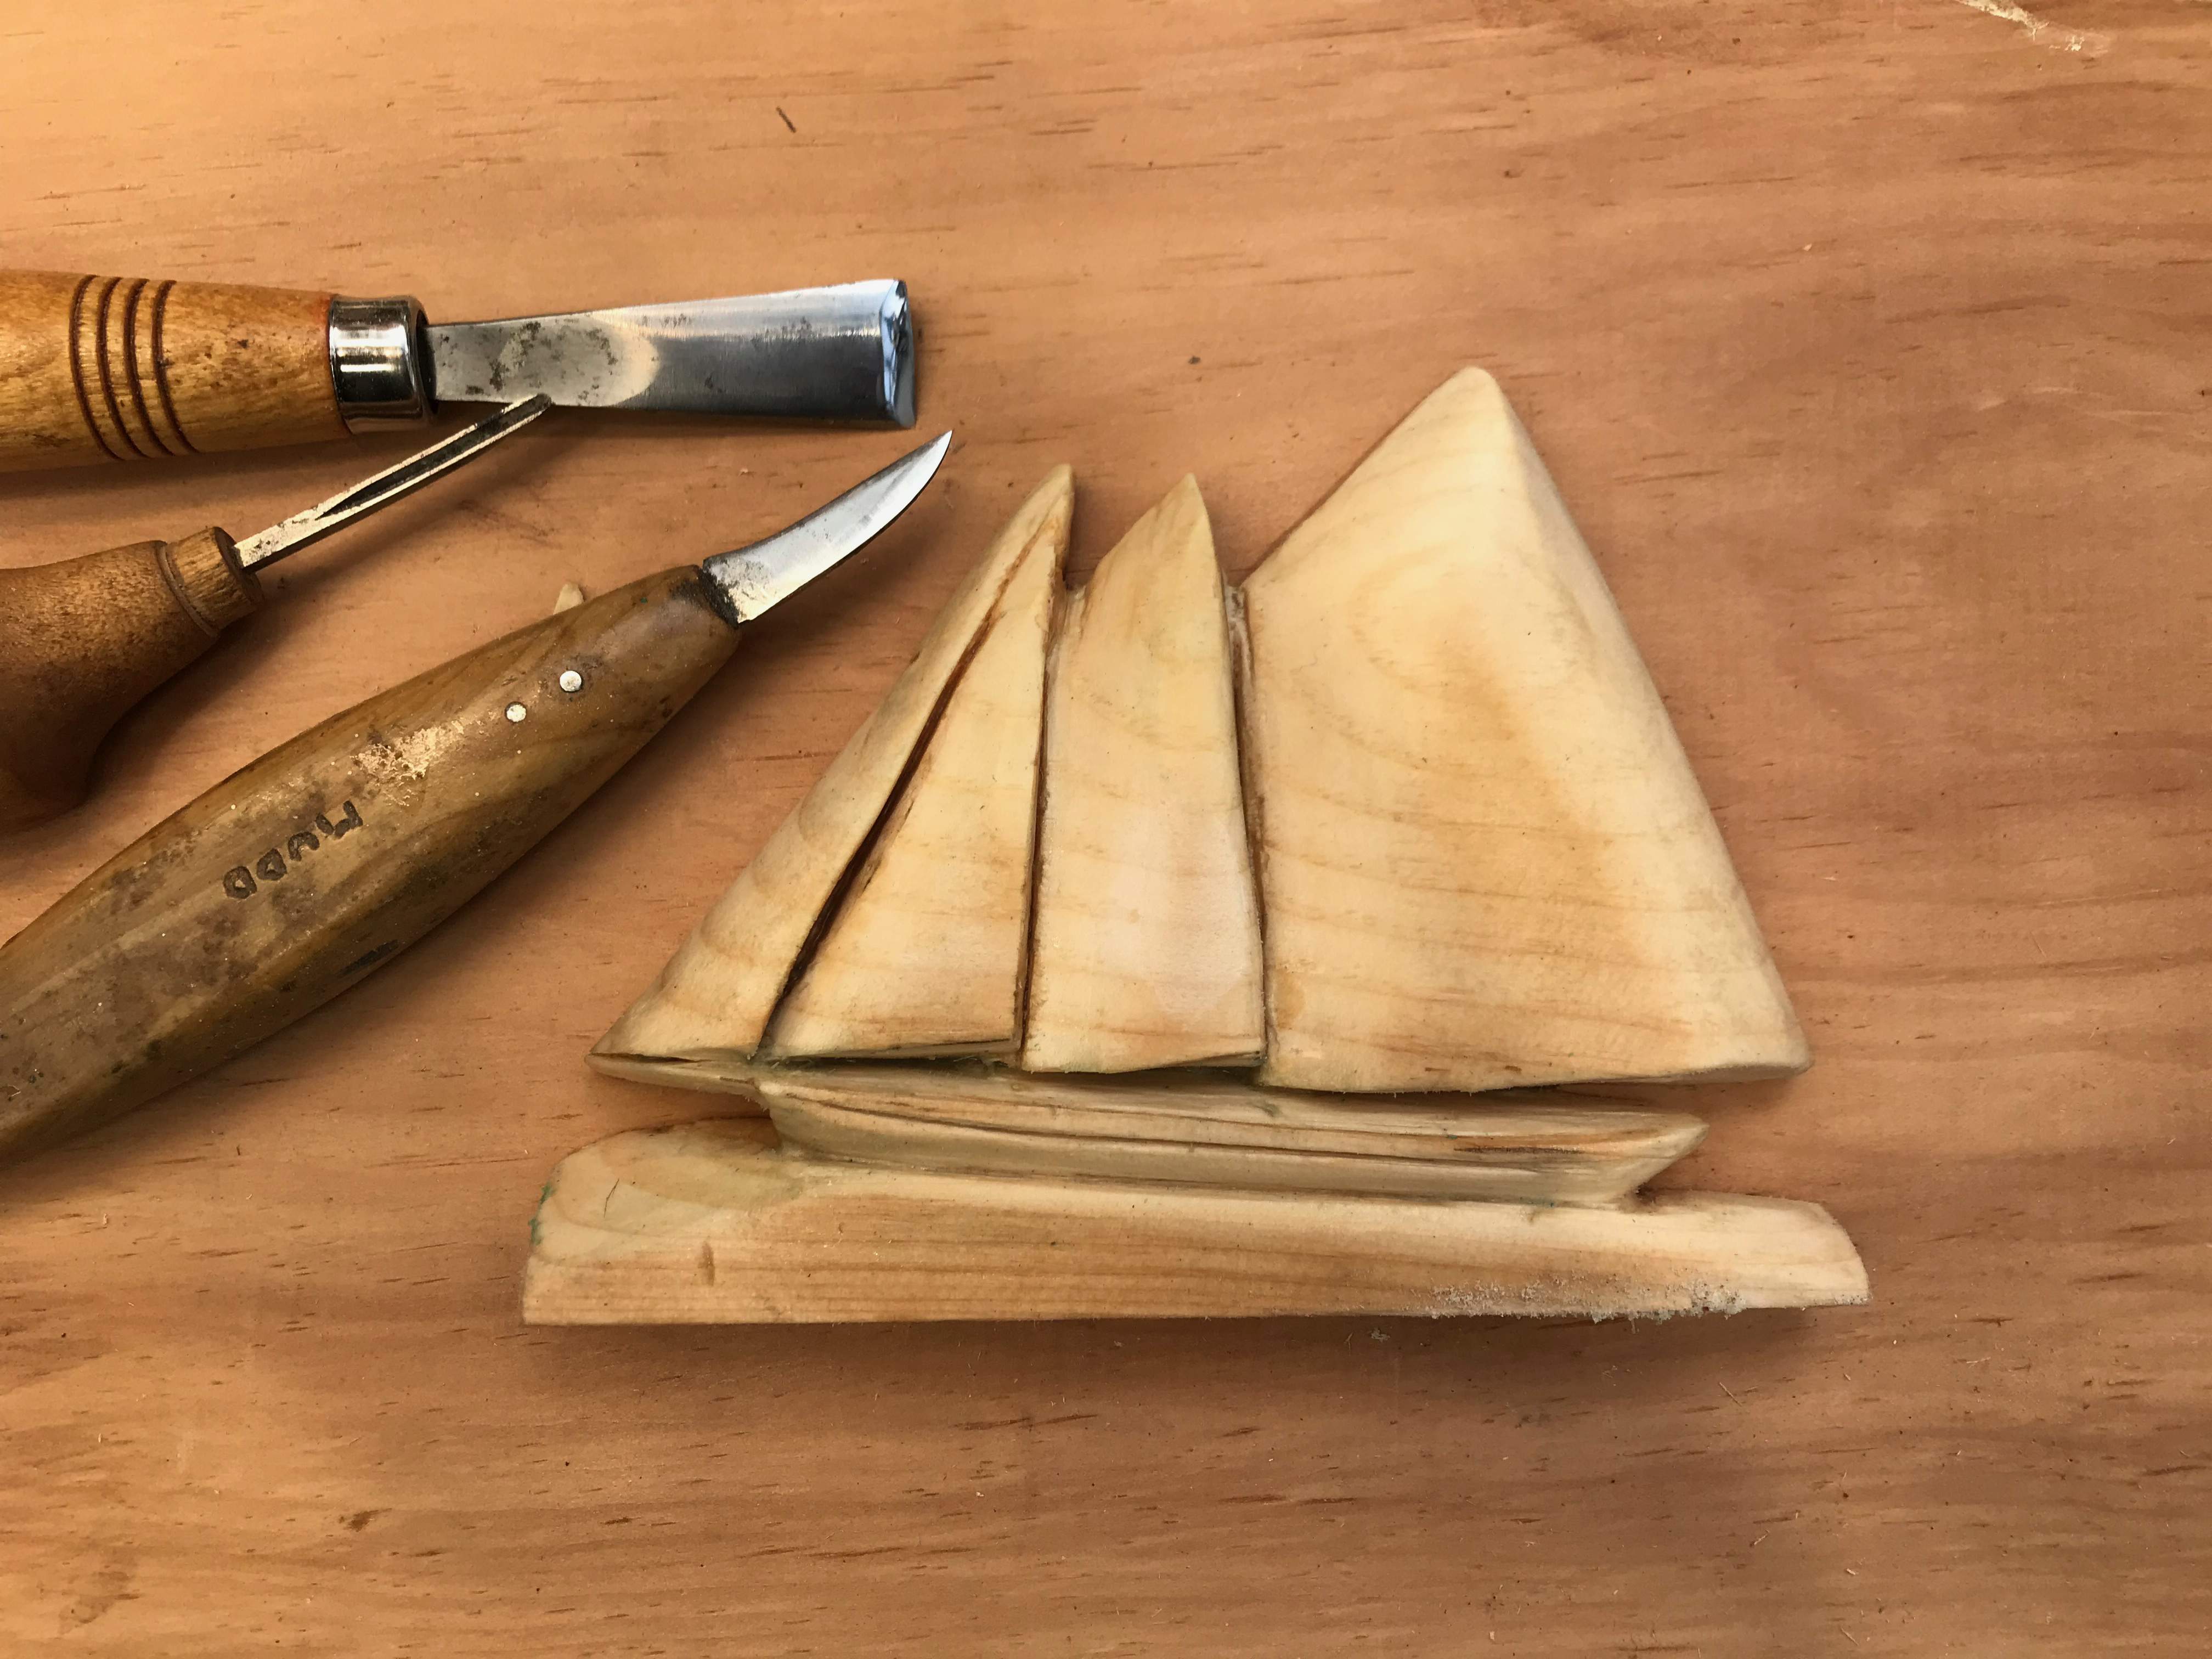
Every craft has a few tools that seem so insignificant and ordinary that we pass over them when discussing how we work. Three that I can’t do without are a simple glove with the fingers cut off, my mallets – a large lignum Vitae one for heavy work, and a little palm job for the delicate touch – the final on this short list is a palm pad filled with a shock-absorbing jell. These are indispensable next to sharp tools, yet they barely receive a mention in handbooks on carving.
carver’s gloveshock absorbant padmallets
The glove keeps your hand from getting abraded while removing the bulk of the background in a carving – sometimes called wasting the background. Remove a significant amount of wood manually without this, and the most minor damage you’ll have are abrasions and scratches from the wood. Splinters are, of course, an issue that the glove helps you avoid. The shock pad will protect the palm of your hand from injury caused by regularly propelling the tool into the wood. Depending on how sensitive your hands are, you could be talking about carpal tunnel syndrome, tendonitis, or merely a sore hand. Whenever you remove a significant amount of wood, using a mallet is a great idea. Carvers mallets are rounded and come in a wide variety of sizes, weights, and wood species. I have about five, but my favorite is the little palm mallet made from a piece of firewood elm. It fits my hand perfectly and is light enough to allow a bit of finesse in hitting the tool.
If you carve and don’t have these tools, you should acquire them – they are cheap and make your carving safer and easier.
I 
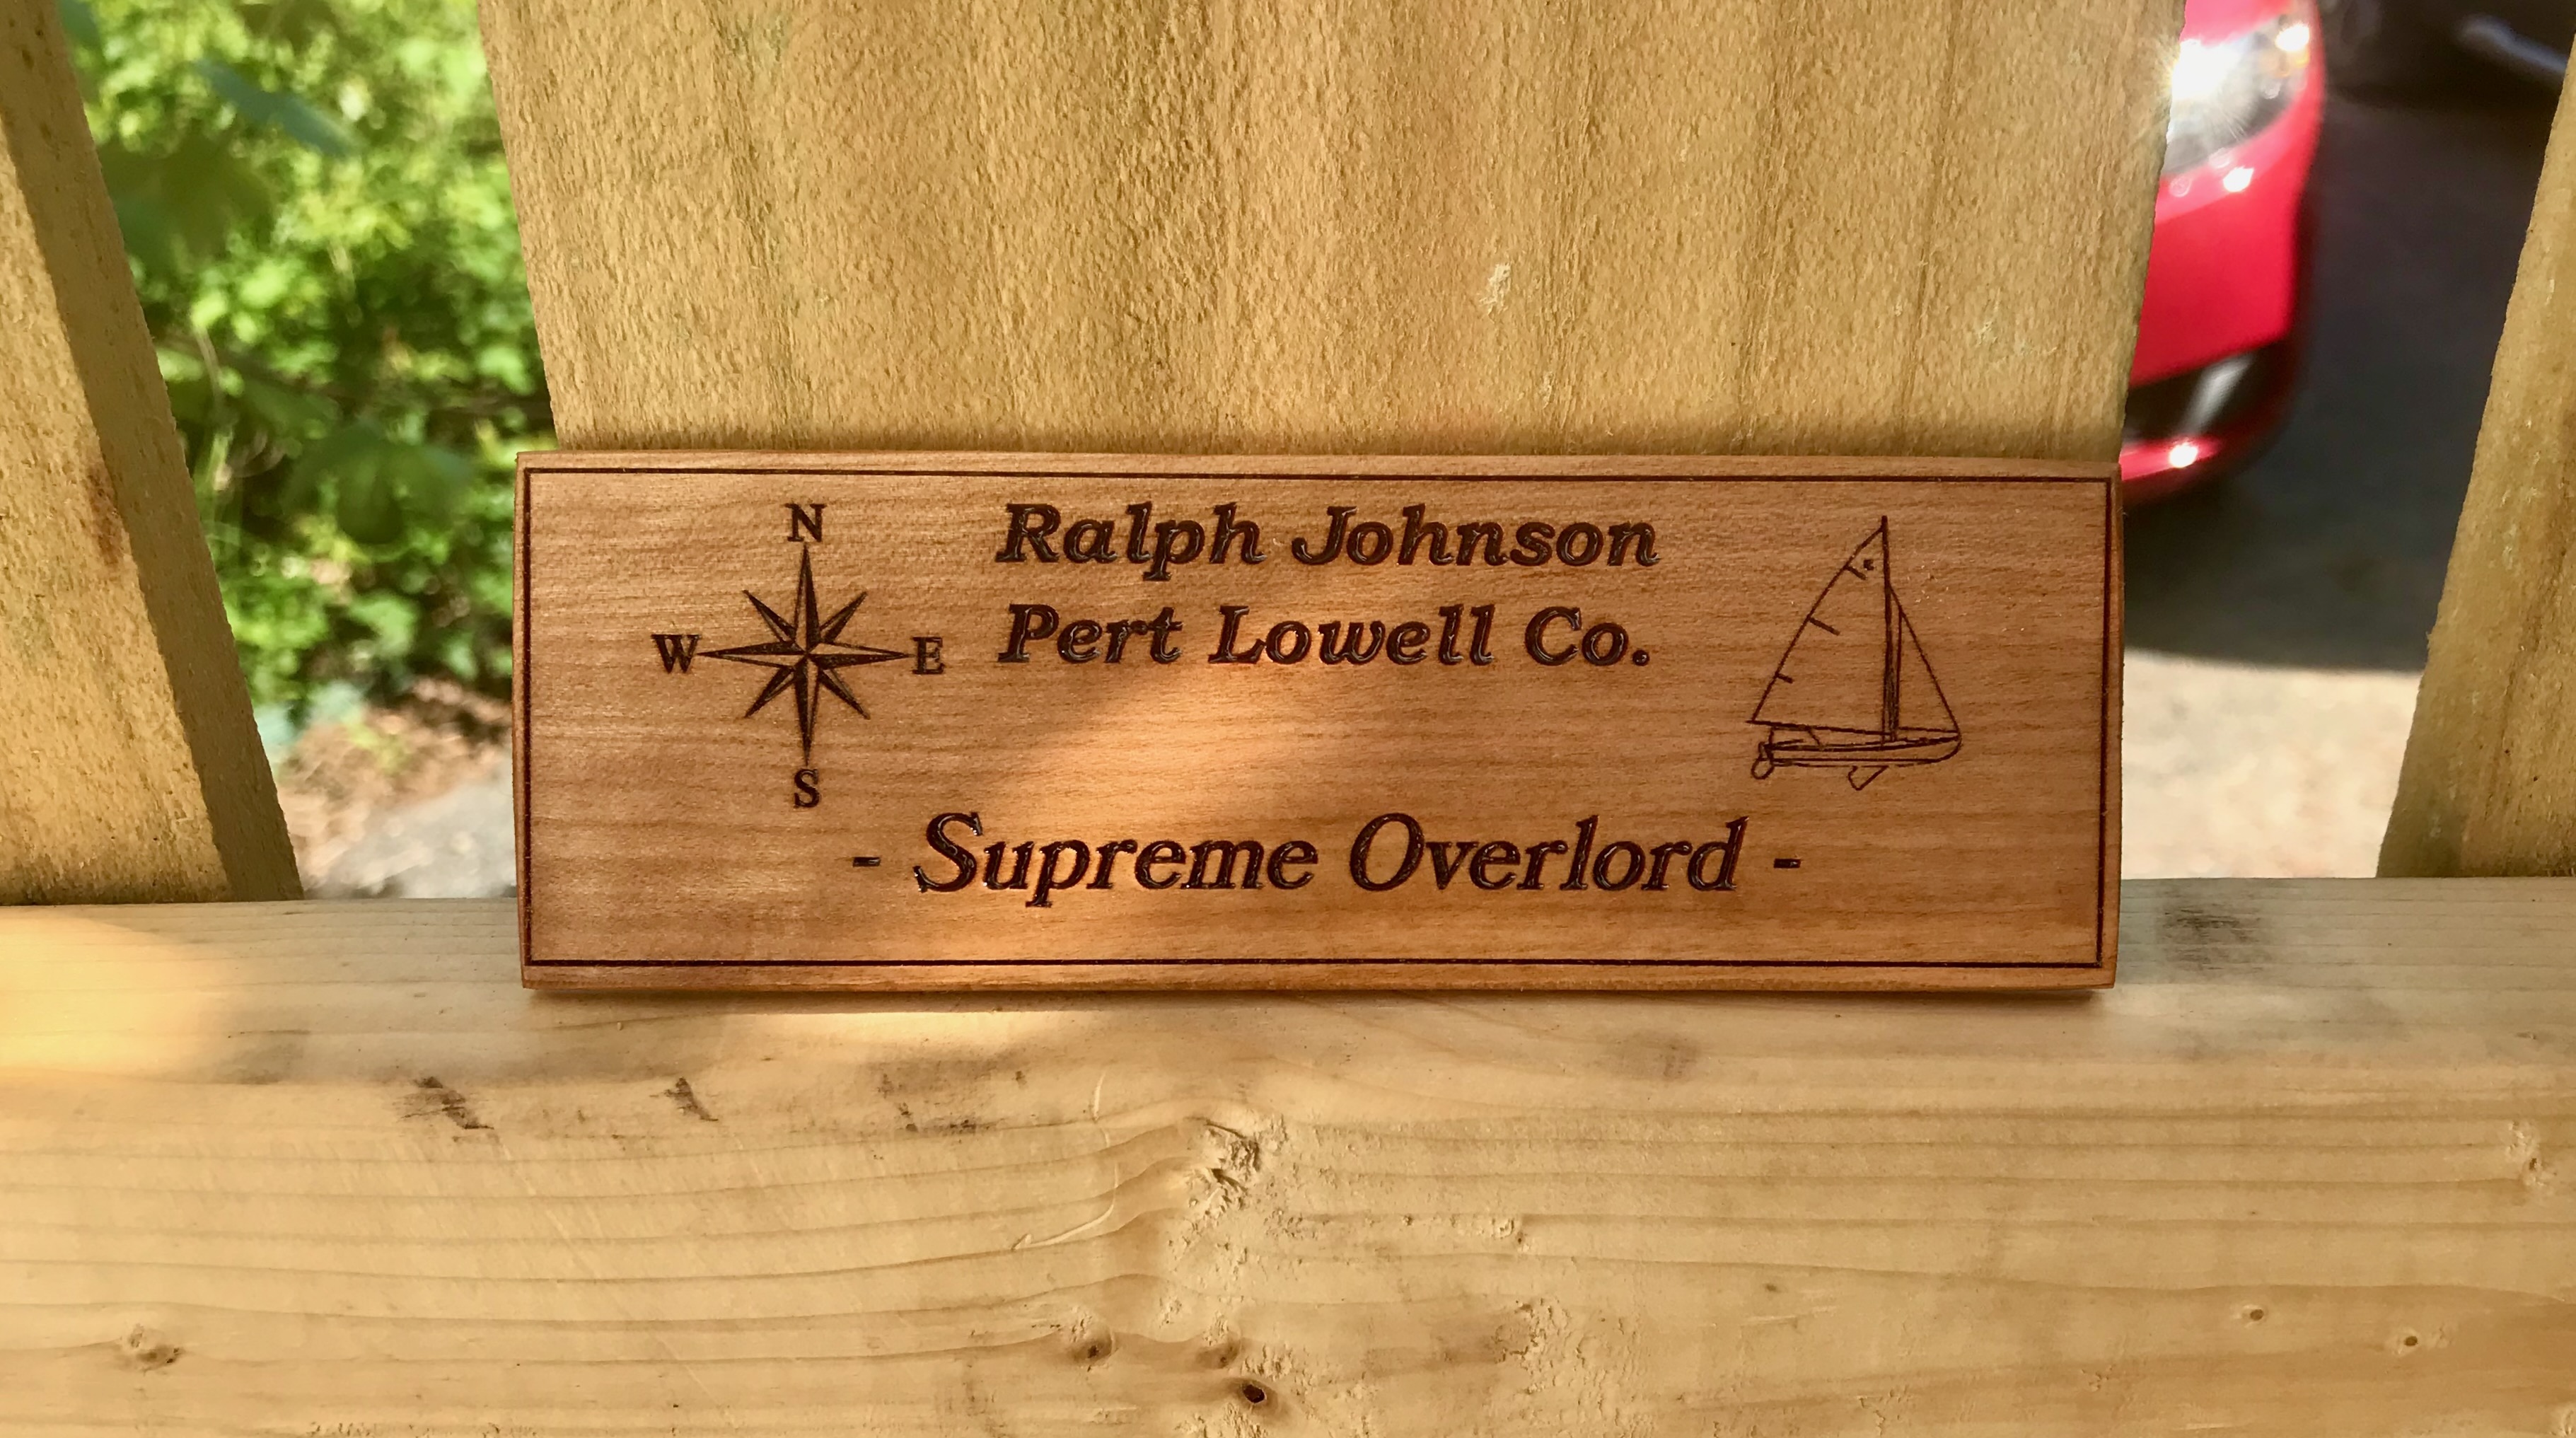
wanted to make a small joke birthday present for a friend. I did the lettering on the Epilog laser in about ten minutes. It took more time to resaw and plane the native cherry wood for the sign blank than for the laser to execute the design. I think my friend will like the sign, he runs a small company with a crew of dedicated workers, and he is the “supreme overlord” of the outfit.
Practicality is the first thing we should think about when it comes to finishing a small project like this, given that we don’t want the natural appearance of the wood altered. I could lay out the extensive array of possible finishes for any project like this: various varnishes, shellac, hard wax finishes, linseed oil, tung oil, and an assortment of miracle finishes different manufacturers have pushed on the woodworking community. The internet mavens can offer lots of conferral advice because everyone has an ax to grind when it comes to finishes, but the best advice is alway to keep it simple.
Some finishes have a checkered reputation based on their weaknesses. For example, linseed oil is an old-time traditional favorite but is not resistant to staining from alcohol. Shellac is dissolved by alcohol, so neither of these worthy finishes are great for surfaces that will see heavy wear or beverages.
Where the object is likely to be displayed is the next consideration. Is it going outside? Well, then I’d opt for marine varnish. Inside? Shellac, tung, or linseed oil, or wax. A lovely oil-varnish mix with some carnauba wax could also do; rubbed in, this finish glows.
For this simple project, I chose a natural Tung oil. It will take a couple of days to dry and cure, but it chemically bonds to the wood and provides a durable coat. It’s also easy to apply to a simple project, and easy is good when you are busy.
After a day or two, lightly buff, and there you are.
I was reading an online review of a compact router a while ago. An otherwise well-regarded model was getting trounced. To paraphrase: ” I was routing two-inch green, live oak. After forty feet, the AceyDoucy 400 seized up on me. Don’t buy this router. Oh, and AcyDoucy customer service was terrible too. My next router will be the Totem 124XlR; it has excellent reviews!”
You see this sort of thing with compact tools often enough to make you think twice before buying. Of course the compact will not stand up to the punishment you can dish out to the full sized pro tool. They were never designed to. But that doesn’t mean that there can’t be good reasons and circumstances to use a compact. Here are three that are important to me:
Space – they are compact and tend to take up less space than full size.
Cost – they cost less than their full-size siblings.
Capability– Since first introduced, there have been many improvements in their capacity. If you are respectful of the machine’s capabilities, you can expect excellent service.
In my basement shop, I have a full-sized bandsaw, jointer and router table and all the doodads which belong in that shop. But ninety percent of the time, I am working in my greenhouse carving shop and don’t want to run into the house and downstairs to do some tiny job. For those small jobs, I have compact versions that add utility to the carving shop and save a lot of time. I am not going to process 200 feet of teak on my small router table, nor am I about to resaw lots of cherry on the 10-inch bandsaw. But if all I’m doing is cutting some small project wood or trimming some boards, my compact tools do the job.
If you have a small workspace, do think about compact tools. They fit in small spaces, have a lower cost, and will do the job.
For my greenhouse shop, I chose a Rikon 305 10 inch bandsaw (the 306 was not on the market yet), and a Lee Valley compact router table. I equipped the router table with a smaller DeWalt router. But there are several good machines from which to choose. Just for clarity: I am not associated with Rikon, Lee Valley, or Dewalt. As with any purchase, the available tools will include the good, bad, and ugly. Take your time comparison shopping. One last tip: be wary of those review articles which rate “The ten best ——– of 2022.” They don’t always get it right.
Lots of us have small shops either through design or necessity. In my case, I deliberately downsized as I shifted from doing larger maritime work like quarterboards and transoms and started focusing on ship and boat portraits. Whatever reason you have for smaller quarters, I encourage you to rethink the conventional wisdom that large is always best.
A while ago, I read an article in the New York Times on how artwork produced in the past seventy years was disintegrating rapidly. The deterioration was due to impermanent pigments, aging materials, and chemical conflicts between elements in a mixed media artwork. Some things were never meant to last forever, and others were never intended to be together in art.
The issues were not only with modern works, but the majority were. There was an explosion of new pigments and media during the twentieth century. Plastics, acrylics, adhesives, fabrics could be added to art and have been. Regularly, I read about fading pigments, disintegrating substrates ( like paper, cardboard, or cloth), or adhesives failing. Little of the furor involves those who utilize wood as our main media. But let’s not get carried away with better than through sanctity. Woodworkers combine multiple materials too.
I create portraits of ships and boats, and yes, the major media is wood. But it gets complicated. Wide planks are expensive, hard to find, and due to wood movement and radial cracking, not so great a basis for carving a portrait. So, I construct blanks from multiple pieces of cherry to get the size I need for a portrait.
I join individual wood panels with adhesives. Blanks are allowed to rest for a few weeks to ensure a stable construction. Then, when I get around to laying out the project and carving the boat or ship onto the cherry blank, I am sure it will not come apart.
I may add bits of plastic, metals, bamboo, and other materials to represent equipment on board. Other adhesives hold those pieces to the carved portrait. After this is complete, we can add various pigments, carrier solutions, varnishes, and shellacs used to finish the portrait. Potentially, through the years, my work faces the same issues as other artists face. Most of my portrait work is younger than thirty years. There is plenty of time for trouble to catch up with me; will that super glue eventually react with that varnish?
The worst issues I’ve had have been with adhesives and varnishes. Early on, I used marine epoxies to glue up the blanks. Then, oblivious to the possibility that these joins might fail after curing, I proceeded with carving right away.
The early failure of one or two blanks alerted me that something was wrong;
I checked the moisture content of the wood I use for the blanks,
I carefully laid out the blanks and constructed their alignment to allow seasonal change.
So, I didn’t think it was a matter of simple wood movement. The failures were along the segment lines of the blanks. A well-made glue line along the grain should generally be more robust than the surrounding wood. You usually want a bit of the glue to squeeze out of the joint as you clamp it, but if too much glue comes out, the joint becomes “starved” because not enough is left in the joint to create a strong bond.
Using the marine epoxy, too much glue was coming out. But, it’s not apparent until a joint fails. I solved this by switching adhesives until I found what I wanted. None of the portraits are “in the wet,” although their surfaces might get damp, so an adhesive like a carpenter’s yellow glue is what I wound up using. It’s sturdy, resistant to moisture, leaves no visible glue line, and has a long history of use.
But trouble lurks all over the portrait – literally. I need to use marine varnishes to finish items that would go on to boats ( Quarter boards, billet heads, and transom eagles), but I can’t use those finishes on things like mast hoop portraits of vessels. Most marine varnishes have ultraviolet inhibitors that add their tint to a finish and change the color of painted objects. Silly me, I had to learn this lesson through experience.
As part of the gallery connected with this post, I’ve included an early boat portrait that had a starved glue line and discoloration caused by varnish UV protection. It’s painful to fess up to your errors in judgment, but it is a learning process, and I include a shot of a similar portrait completed with a better approach.
an early boat portrait that I used epoxy on to glue up the blank. The join between the pieces of the blank was gkue starved.
Next on the list of potential bad boys are pigments. I do not like oil paints; I prefer acrylic. I’ve never had a problem with incompatibility between thoroughly dry acrylic paints and varnish. Still, as my technique developed, I began to use barrier coats between the colors and the varnish because not all problems showed up right away. A barrier can be as simple as shellac or something compounded and sold by the manufacturer of your pigments. If you create a commission for a client, adding a barrier is a worthwhile step.
A friend who is a painter spent a good part of one evening convincing me that good quality pigments were not a luxury. Please do not use “craft” paints and expect something that has permanently vibrant color and that is chemically stable. I prefer the Liquitex brand, but you may prefer another. Established brands have websites that offer FAQs on their product. Remember, paint is not just one ingredient. It’s helpful to know about the pigments, the number of pigments binders, and the carrier medium involved. If it affects the long-term color fidelity of your project or its stability, you want to know.
I do rarely use styrene or other plastics without problems. I have used metal wire and small castings. I can’t remember using paper or fabric to date on any project. “To date,” I’ve had no issues; please remember that ‘to date” part of things. I keep my eyes open to what others experience, and my best advice is to be proactive use the internet to search out others’ experiences. When in doubt, remember two of my maxims! KISS – Keep it simple stupid. And, the seven P’s – proper prior planning prevents piss poor performance.
With luck and forethought, we’ll avoid becoming some restorer’s headache.
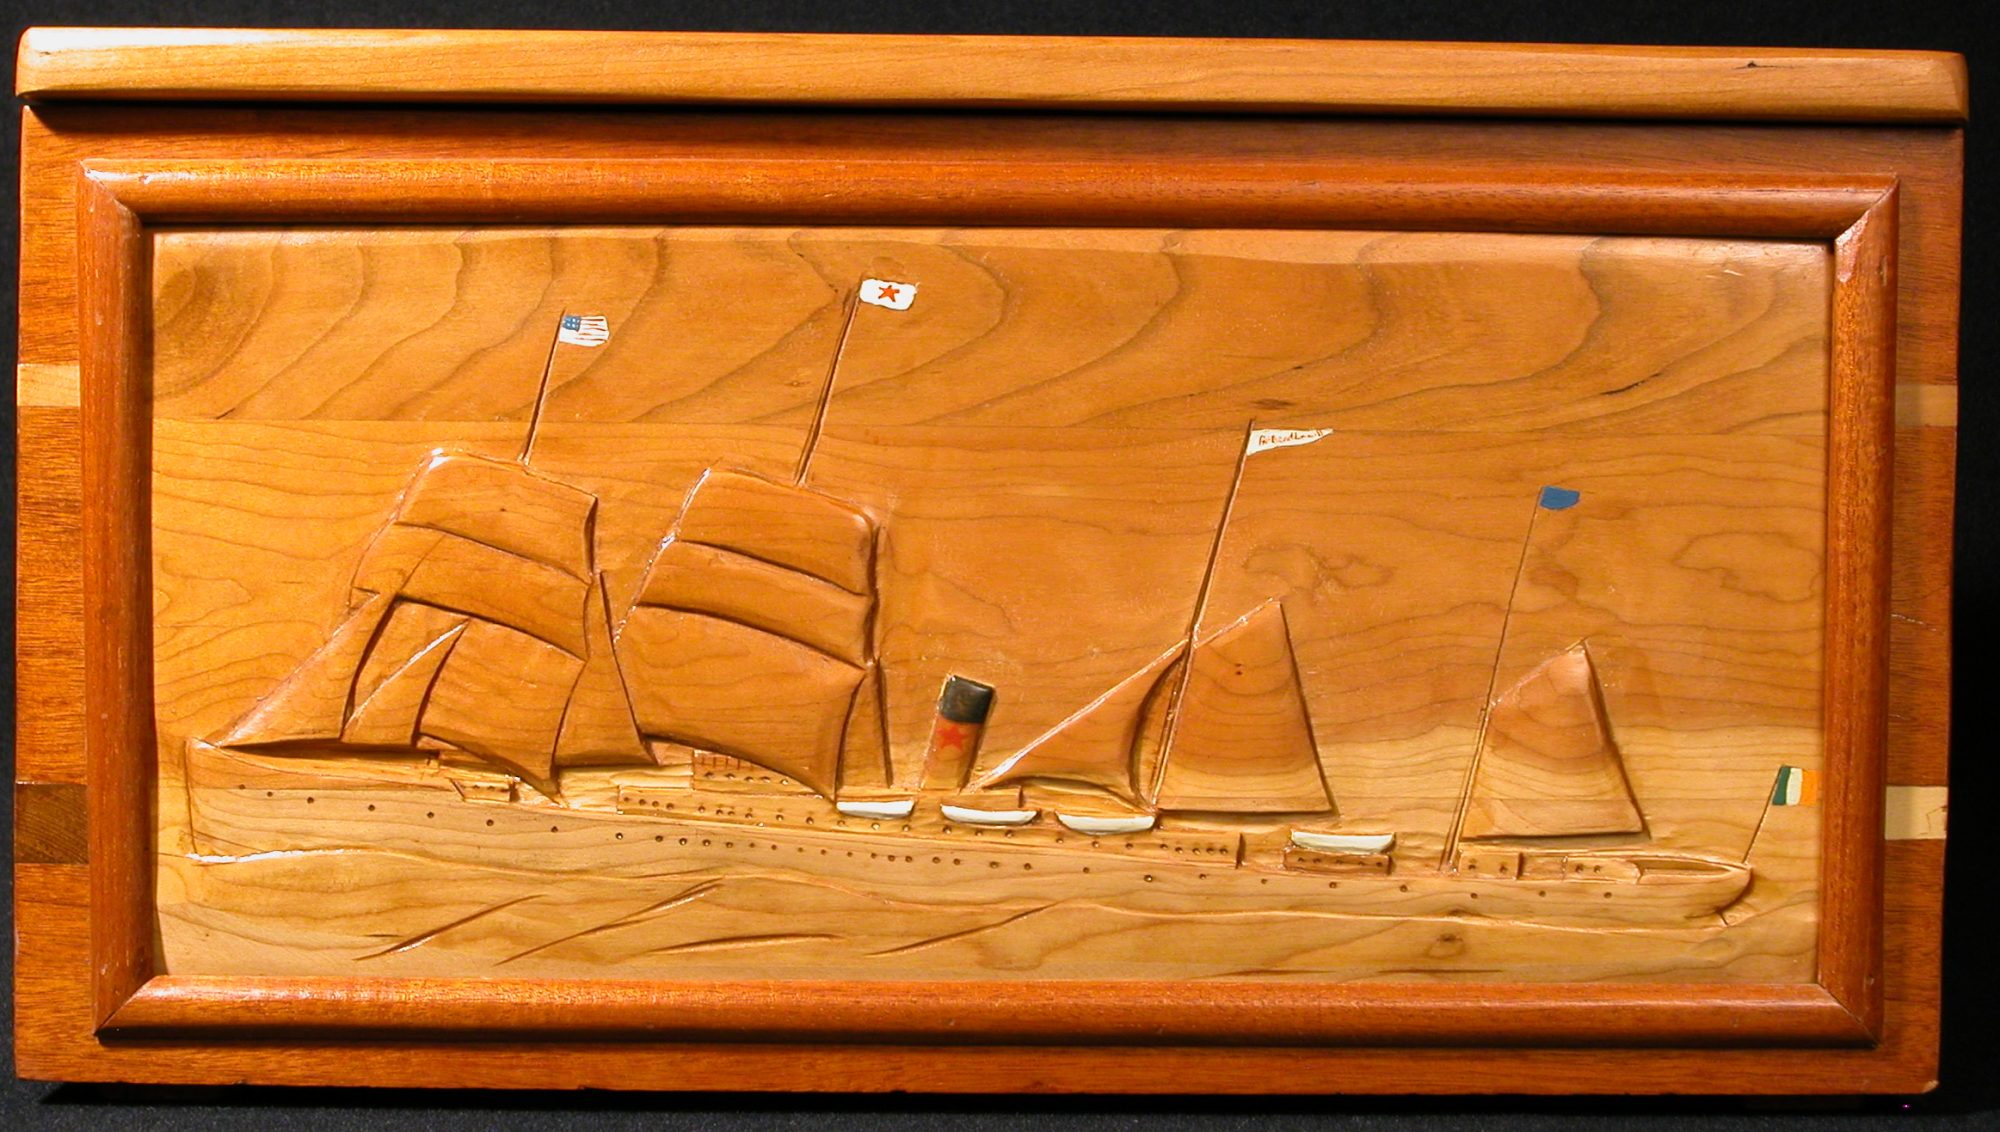
What you coat a carving with has distinct practical and esthetic consequences. I tended to make things for boats; quarterboards, billet heads, eagles, or transom banners. I always used carefully applied varnish, paint, and gold leaf. Polyurethane varnishes were unreliable for adhesion and tended to peel away, so I stuck with the older fashioned spar and marine varnishes.* It was a pragmatic decision.
A quarterboard almost always received up to seven coats coats of varnish; a finish failure was a costly error. But, once you learn to prepare a surface for varnish properly and apply the coats evenly and thinly, it’s an easy finish to use. So don’t slop it on, and don’t over brush it.
The instructions for most varnishes call for applying later coats within twenty-four hours. The can will say something on the line of “…allow to dry for twenty-four hours before recoating.” That’s confusing because the varnish film may technically be “dry” but not completely cured. It’s that incomplete curing that allows for adhesion between coats. Wait over twenty-four hours, and the instructions will frequently advise a light sanding. The sanding roughens the surface enough to aid bonding.
A trick I learned from a professional varnisher was to coat with three thinned coats, twenty-four hours between coats, and only then lightly sand. On open-pored woods like Mahogany, this worked well. After those first three coats and sanding, you began to build the surface with full-thickness coats of varnish and sanding lightly between coats.
You may be saying, “seven coats of varnish! That’s thick!” Bear in mind that a marine environment is very harsh on wood. Don’t protect it, and watch it deteriorate rapidly. You may also be thinking about just dipping the finish from the can and smearing it. I’m not being facetious when I say that if I saw you doing that in a boatyard, you’d get fired that day. The idea is to build a lovely finish, coat by coat. No single coat is very heavy.
Since we are dealing with carved wood here, you need to avoid varnishing so heavily that the finish pools in the carving. I like to use a good quality varnish brush or a nice foam brush to ensure that my letters are coated but not filled.
If a carving needs to be gilded, the gold leaf gets applied after the finish. Gold leafing is not a topic for this post, but let me warn you that you don’t want to finish the varnish cycle one day and start gilding the next. Remember what I said about finish adhesion. The day after you finish, the surface has just begun to cure. Put the gold leaf on right away, and it will not only go on where you want it but everywhere else too. Cure in a warm room for a week ( not a cold shop).
Finishing brightwork is an art. The idea is to create a protective finish against a very harsh environment and have one that you are proud to flaunt.
This post is only a brief probe into varnishing—a foray. I haven’t addressed “lace curtains” and “holidays” yet. If you are interested, there are several excellent books on brightwork; I tend to like Rebecca Wittman’s Brightwork: the art of finishing wood.
*Please note that the manufacturers of marine finishes have conquered many technical issues with polyurethanes in recent years.
The world of woodworking is full of handbooks, videos, manuals, and magazines that aver to show you the best way to do things. Full disclosure time, my woodworking library has more than a handful of these in it. But it’s essential to be selective in your choice. If you are not careful, all you’ll be doing is allowing a publisher to separate you from the cha-ching in your bank account.
I advise sticking to texts that teach fundamental techniques rather than those which spout about twenty-five beautiful projects for the woodcarver.
Here’s my rationale. Unless those twenty-five projects advance your skills, they are of little use to your mastery. Also, projects can be traps if they are not presented with skill-building techniques. Cut here, file there, and paint this color gives you a chickadee or a Santa, but not skills related to carving other things as well. It’s a paint-by-the-numbers approach to craft. And as a result, any long-term value is lacking. So it’s my view that projects are a means to increase mastery, not an end in themselves.
If you’ve read my blog for a while, you might know that my 19th-century craft masters were users of patterns. But patterns are just the beginning point for a carver. I completed a dozen eagles from one basic pattern. Only the last looked anything like the master from which I carved it.
I varied the pattern and sketches for each eagle so you could tell the family resemblance but not much more. This was possible thanks to having the fundamental carving skills needed. Knowing how to alter feathers, the head, eyes, and body make each carving stand out individually.
In the beginning, it may seem unbelievable that you’ll turn away from project books. But if you master underlying skills, you will. First, an idea will come to you, and then you’ll begin analyzing it for the skills you’ll need to create it. Then, working through the planning process will force you to modify your idea and go back to your library to look at a particular skill or approach you’ll need. Eventually, a completed project all of your own will take shape.
Here’s some final advice. First, start keeping a journal book of ideas and thoughts on technique. Not all ideas will jell at one go, and some might take years. So keep the journal handy to add notes and sketches to the concept as they occur. Secondly, make art a habit. Visit exhibits, look at art from areas other than your specific interests, grow your interests, and your inspirations will grow as well.
Develop a mindset that a new project is a journey, not a one-time destination. After all, art and craft are lifetime occupations, and not everything gets accomplished at once.
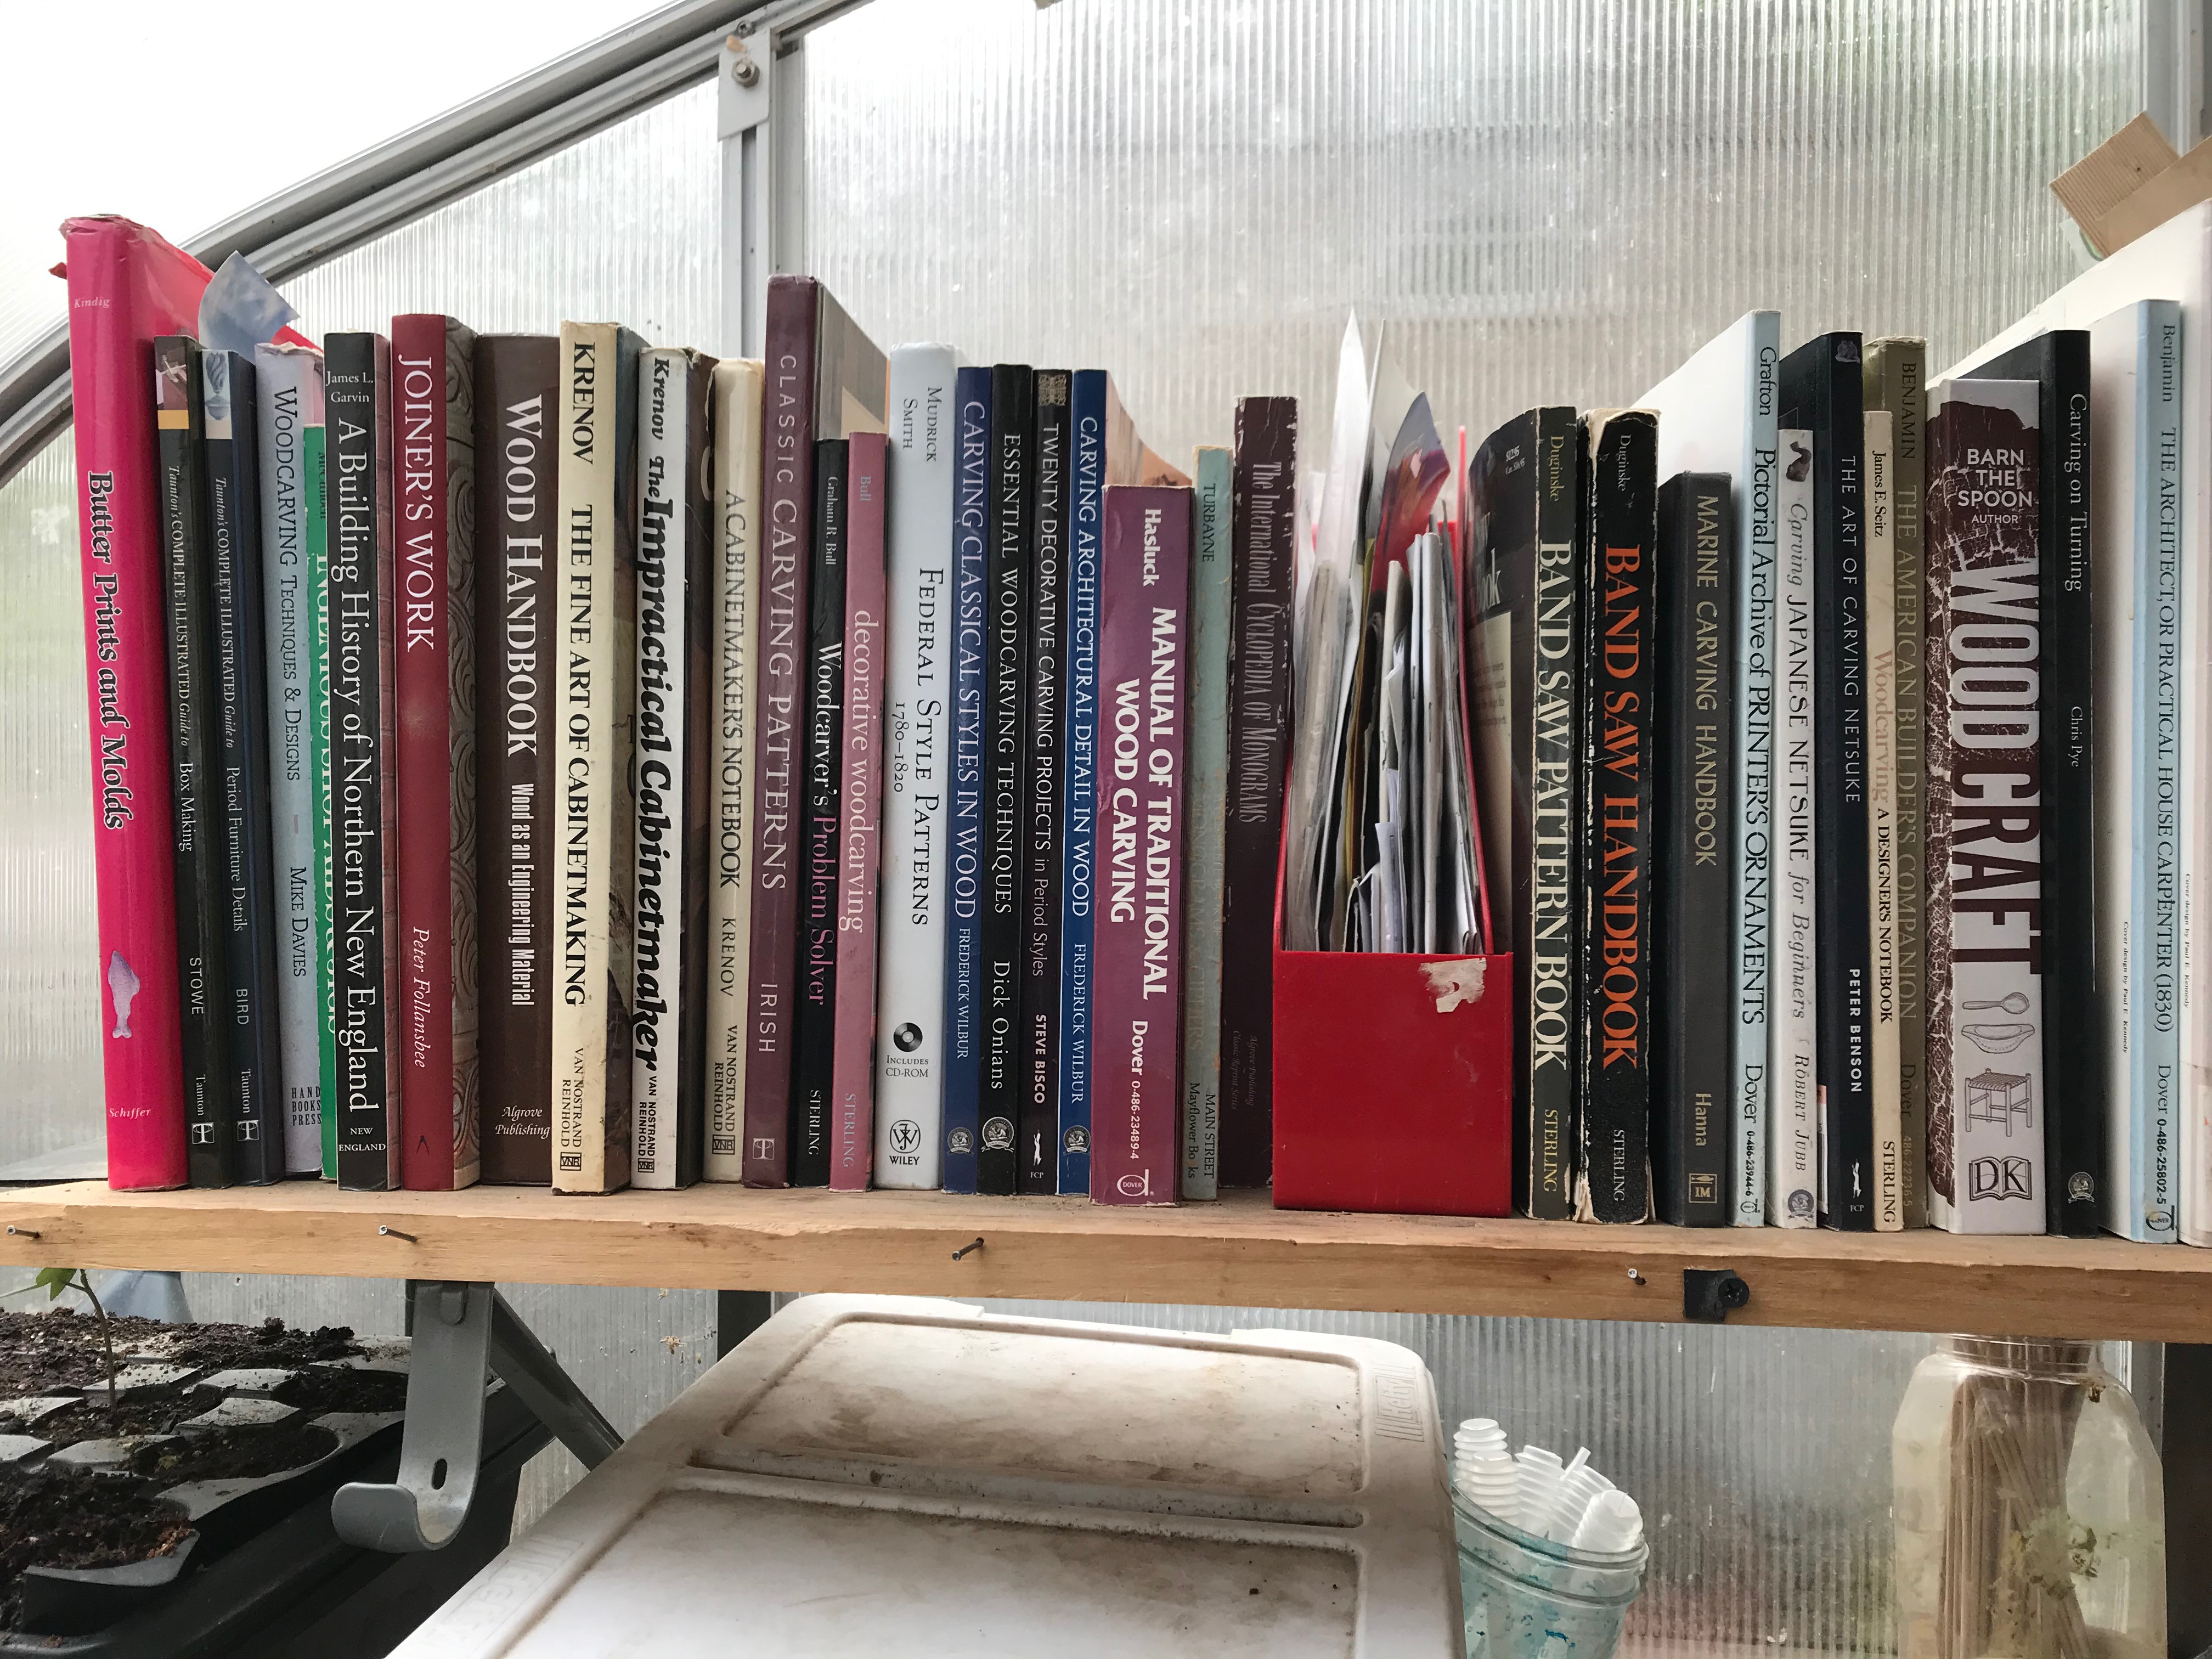
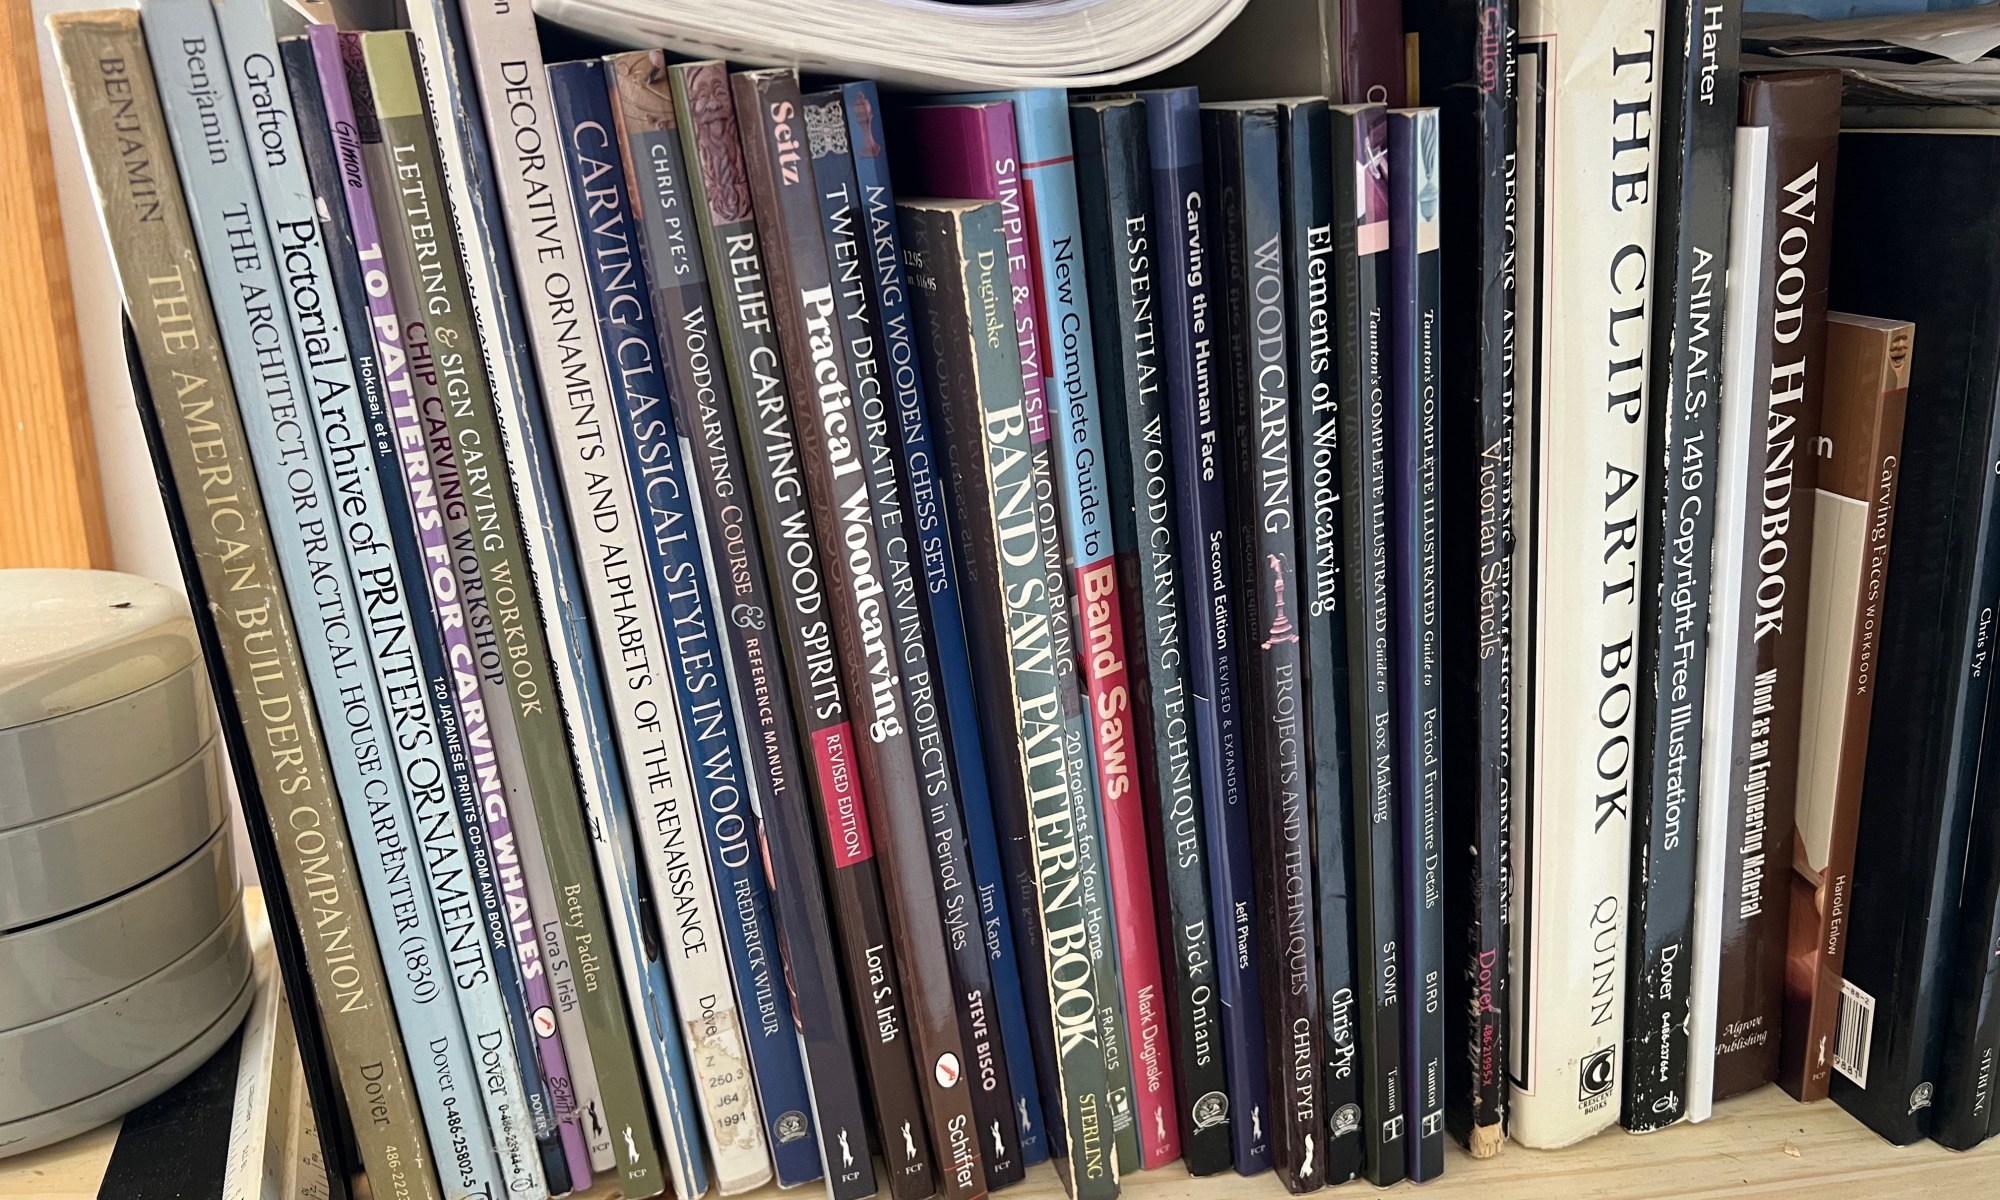
Since my interests as an anthropologist and as a woodcarver have tended towards the maritime, you’d expect that my library would be heavily weighted to those interests, and you’d be right. However, I used library sales and second-hand booksellers to do this for less than a fortune. I could and should recite a panegyric to praise libraries and their book sales. And if you are interested in arts and crafts, you should also.
Here are two ways it works. Mr. Somewhere loves books on the sea and is one of the best patrons of the Quimby public library. So once in a while, they purchase his requests. They do this even though they are so far away from water that no one in town but Mr. Somwhere knows what an anchor is. Ten years go by, and the library is weeding, and someone notices that the book hasn’t been checked out in nine years. So it goes to the annual book sale where a used book dealer buys it. Eventually, that well-curated collection of Mr. Somewhere downsizes as his family moves to a smaller home, and the personal library gets contributed to the annual book sale. A bonanza for the book dealer.
About two-thirds of my library comes from used books, library discards, sale items, and such. And it’s a nice collection. But, honestly, many of the titles were no longer available new because publishers keep lean inventories and do small publication runs.
So if you are interested in tasteful mother of pearl inlay ( yeah, I’ve got that!) or something on the Freedom of the Seas ( got that as well), the second-hand sellers are where you will wind up.
There are some very reputable dealers for those who haven’t tried this approach. Among the ones I’ve used is Biblio.com. Thriftbooks.com, and of course Amazon. I don’t think there is any dispute that this is the most economical way to develop a collection of books for the craftsperson. So if your interests are tole painting, carving, egg decoration, or knitting, the searches at these sites are easy to do, and what you don’t find, you can put in requests for.
You only get one clean slate. That’s when you are a kid. After that, you can scrub at it, but it’ll always be a sort of palimpsest, with bits of the old layers faintly showing from below. So you can never totally scrub it completely clean. I don’t think this is a bad thing. It’s part of learning and incorporating the old with the new.
Being in a craft or art is the same way. First, you start fresh but soon find that answers often are found by working through mistakes. Some people take the process of working through failure as a sort of crusade. “Onward, despite the cost!” I’ve found it’s wiser to put a loss aside for a while and move to another project. Leave the puzzle where you can see it, and let your mind nibble about the edges of the problem. Eventually, you’ll solve it or leap ahead into finding a different way of doing things.
Thrusting blindly at a problem wastes energy and leads to frustration. As in war, so is it in a craft; the value of frontal assaults is greatly exaggerated.
The process of attaining mastery is one of learning, making errors, correcting errors, learning effective habits, and freeing your mind to be creative. A pivotal concept is that learning is not a one-way process. You backtrack, learn new things that overwrite old ways of doing things, make modifications, and synthesize the new out of old all the time. You have a palimpsest.
If the term master is disagreeable, try this one – Old Head. An Old Head is a person who has been around, learned the ins and outs, works efficiently and makes it all look easy. Warning: Old Heads are not necessarily good verbal teachers. I had a Judo Sensei who could not tell you how to do a particular throw, but he’d show you a thousand times or until you mastered it.
Old Heads are not always formally taught. Old Heads work on railroads, in boatyards, art studios, and factories. If you need to learn something, look for an Old Head. Their clean slate days are long past, the smudges and stains are there to be seen, but they are a wonder to watch at work.
When I taught media and television production to seventh and eighth graders, I always insisted that being a bit juvenile was OK. Rather than being a curriculum and text-based course, I taught the subject as an enrichment. Every couple of weeks, there was a new project. Included was a scriptwriting workshop, storyboarding, planning the shots, and walk-throughs of the action. Along the way, technical aspects of editing or camera work got addressed. To make this work, because there was a lot of work involved, it also had to be play. We did many silly videos while learning essential technical skills that made them good television. There was no magical zap and, it’s done. My goal was to maintain the freshness of a “beginner’s mind” while instilling the technical skills needed to produce polished work. Over a school year, the objective was to give students the necessary skills to make them successful and creative. The goal was to give them skills in service to creativity instead of creativity hobbled by didactic skills.
OK, I had trouble in school with teachers insisting that there was only one way to do things. It took years to remove the shackles. That is why I am adamant about maintaining a bit of childishness in creating. It acts as a check on goading people into doing things one way. It helps encourage people to blow rules out of the water and learn to skate on the edge of the abyss. Yes, you create some lousy work. But you learn from the poor work and do something else. Next time you get it right. I carve for fun and profit. The skills I’ve gained are in my service. The rendering I begin a carving with is just that, the beginning. After I start, my child sees what fun can be had with the tools and the wood.
Don’t let rules hobble you. As an old saying goes – they are made to be broken.
You can find out what grit of sandpaper you need to use on the internet. But learning what that thin whisker of a wire edge really feels like on a just sharpened gouge or chisel may be more challenging. And while Youtube videos can walk you through many processes learning how to glide a gouge with the right amount of force through teak might not be one of them. So for these and many, more in-person instruction is still the best answer.
There are many places where you can get intensive training in craft skills that are hard to master on your own. My own experiences as an instructor have been at WoodenBoat School in Brooklin, Maine. At places like WoodenBoat, the courses are a week or longer. During that time, you will get immersed in the craft in which you are interested. For most, it will be the closest thing to a craft internship or apprenticeship that can be achieved.
Schools like WoodenBoat offer great value for what you pay, quicken your skills and accelerate your mastery of skills that are very hard to learn from books and videos.
You must be logged in to post a comment.