Referring to love, the hook on the song Searching for a Heart by Warren Zevin says, "you can't start it like a car, you can't stop it with a gun." Creativity is the same way.
Creativity


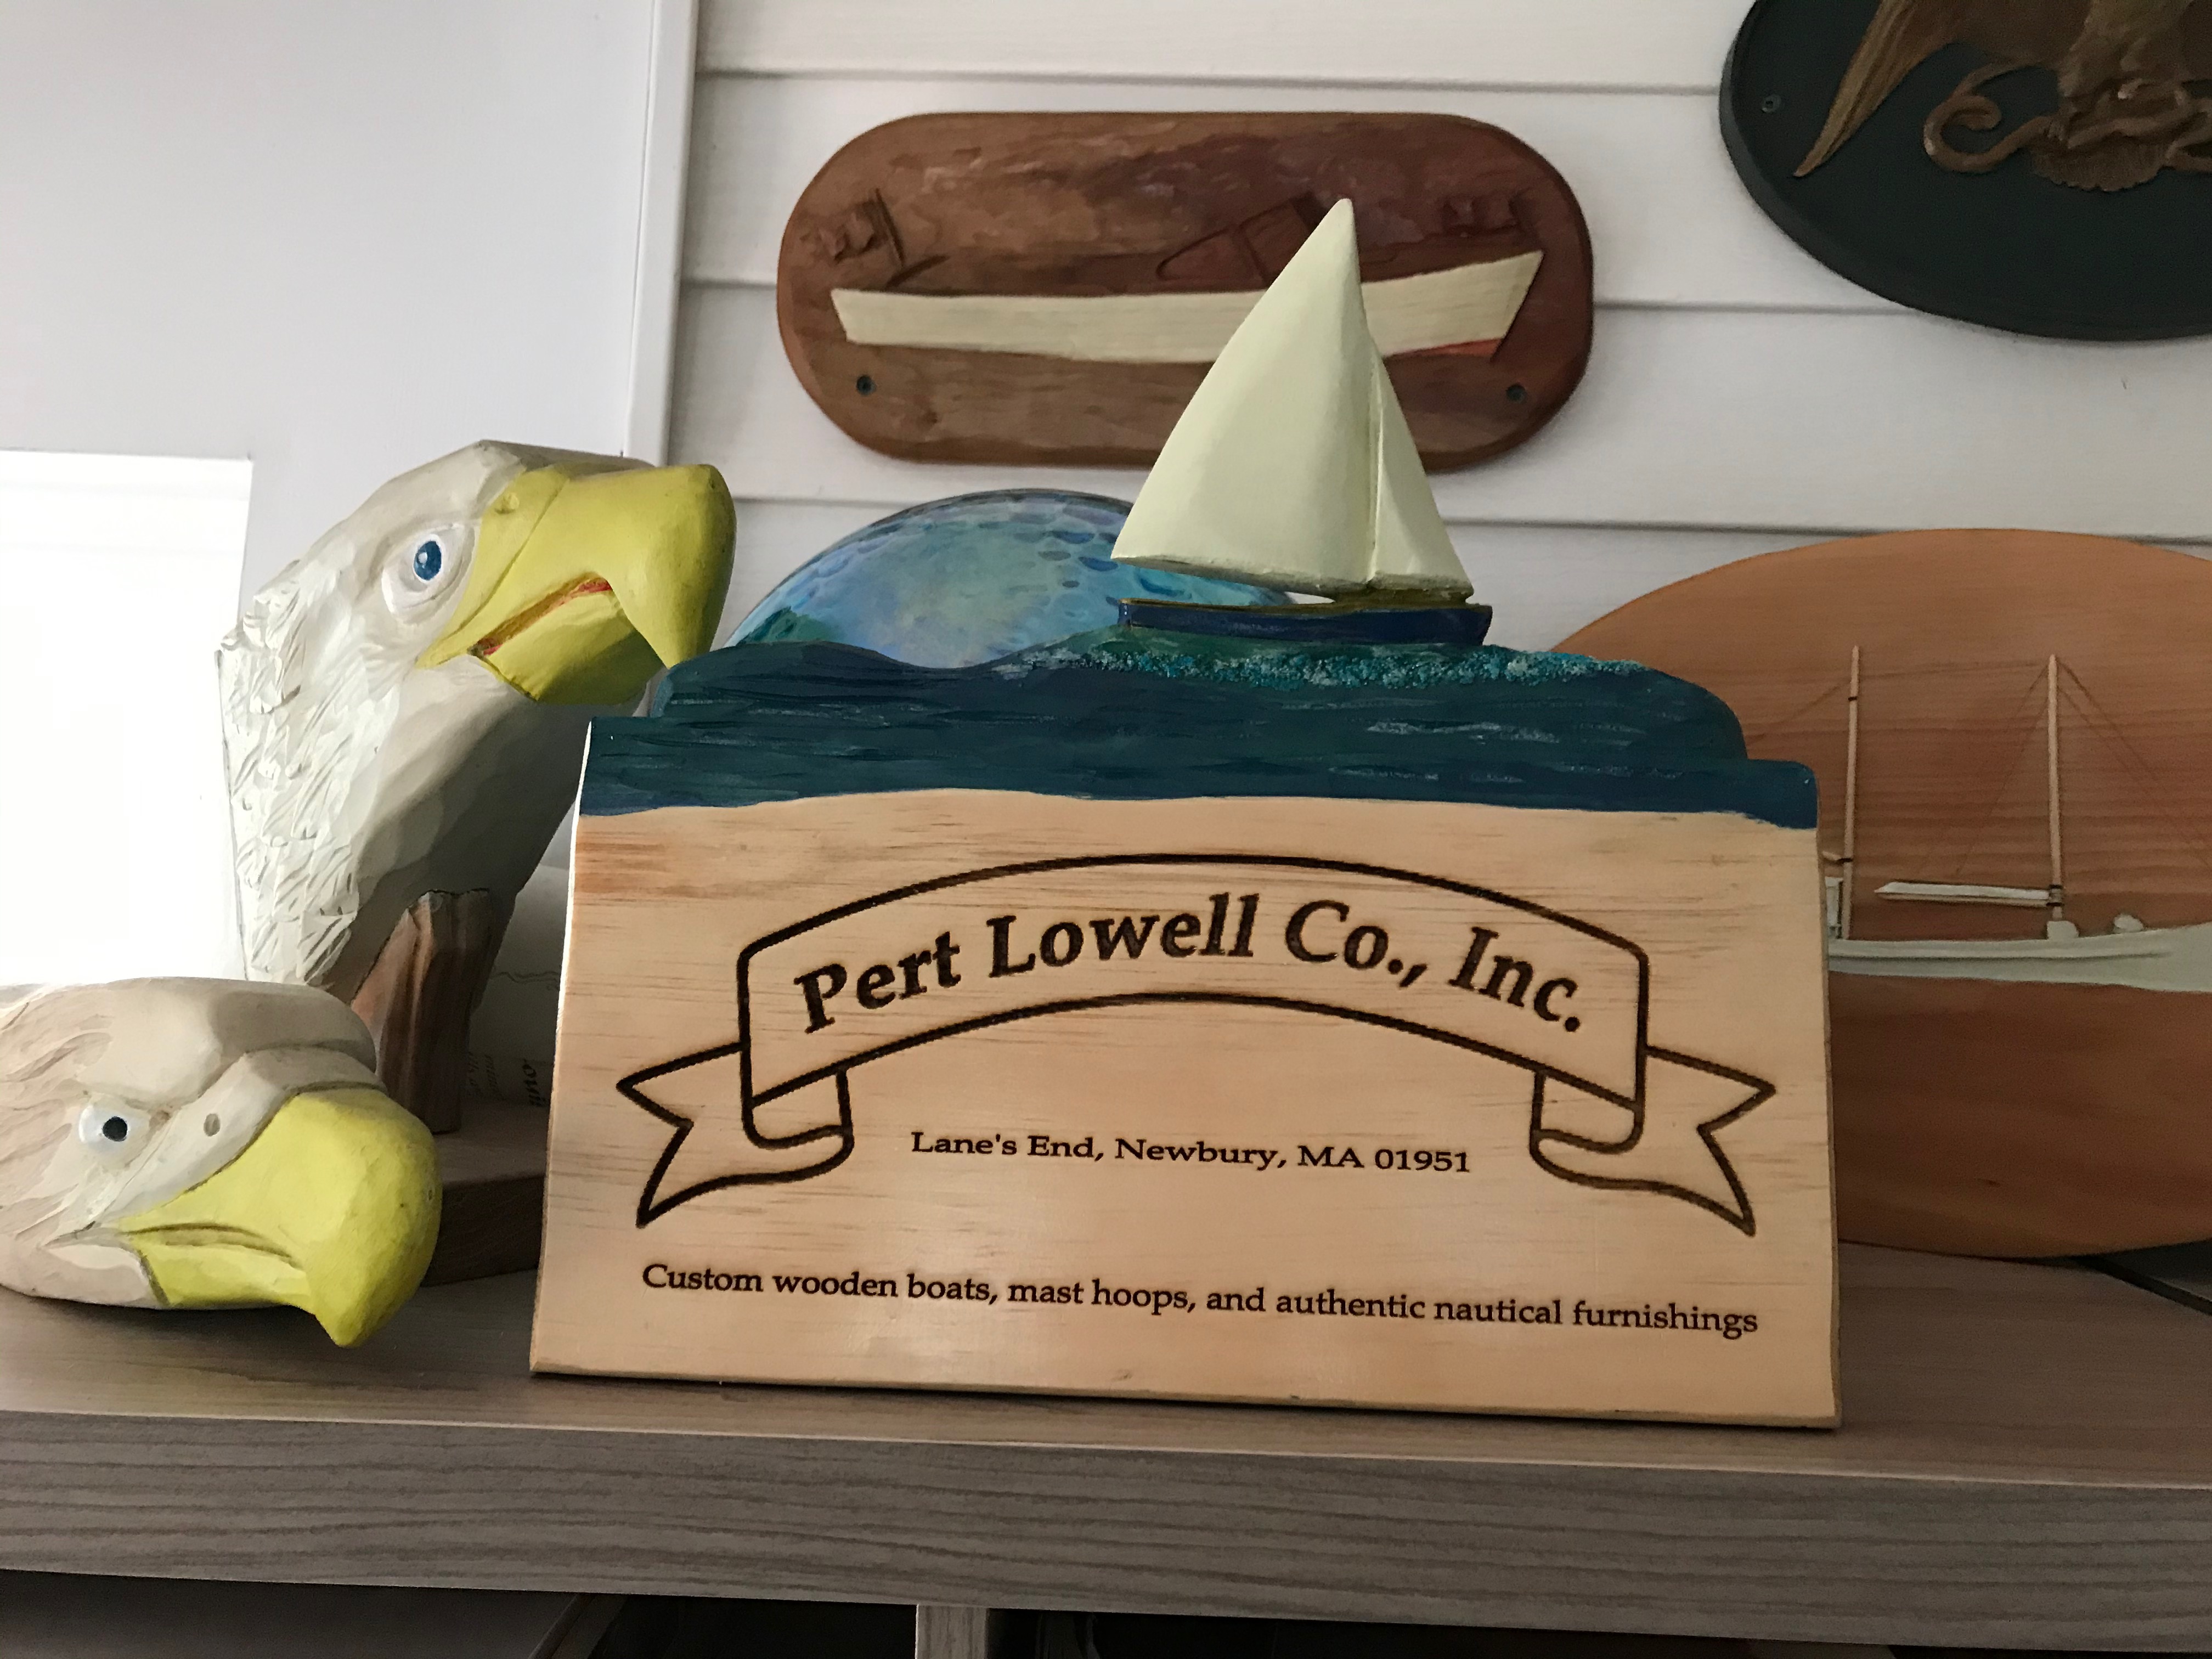
Authentic Nautical Accessories, and Custom Furnishings
Referring to love, the hook on the song Searching for a Heart by Warren Zevin says, "you can't start it like a car, you can't stop it with a gun." Creativity is the same way.

I am sure that a visit to one of the big box crafts retailers will not be a disappointment. It might even astonish with the variety and amount of material to make unique with the paints, beads, putty, vinyl, or glitter you can find on the shelves.
Craftspeople and artists repurpose industrial tools and materials for art and craft all the time. Some people hate it and protest that it's neither art nor craft. I'd point out that modern artist paints owe more than a bit of thanks to industrial chemistry.

Pro Bono work, work you do for free or at a significantly reduced fee, can be rewarding; or not. It can depend on how entitled or grateful the recipient is.

Every winter, I look for entertaining and educational reads to fill the evening; I lost the TV habit many years ago.

If you buy too many woodworking magazines, you may develop shop and tool envy.

While teaching, I always like to decorate the workshop with carving examples for students to use as a reference. Week-long excursions to teach away from home mean emptying the house of many of my carvings. But samples in three dimensions often are better than pictures or demonstration, and the extra work was worth it.

A shop with all the tools neatly racked, and no chips are like a clean desk—a sign of a sick mind.

Because of the good and bad of the design, it's a piece I love and hate.

Seeing may be believing, but feel will give you a less biased second opinion.
You must be logged in to post a comment.