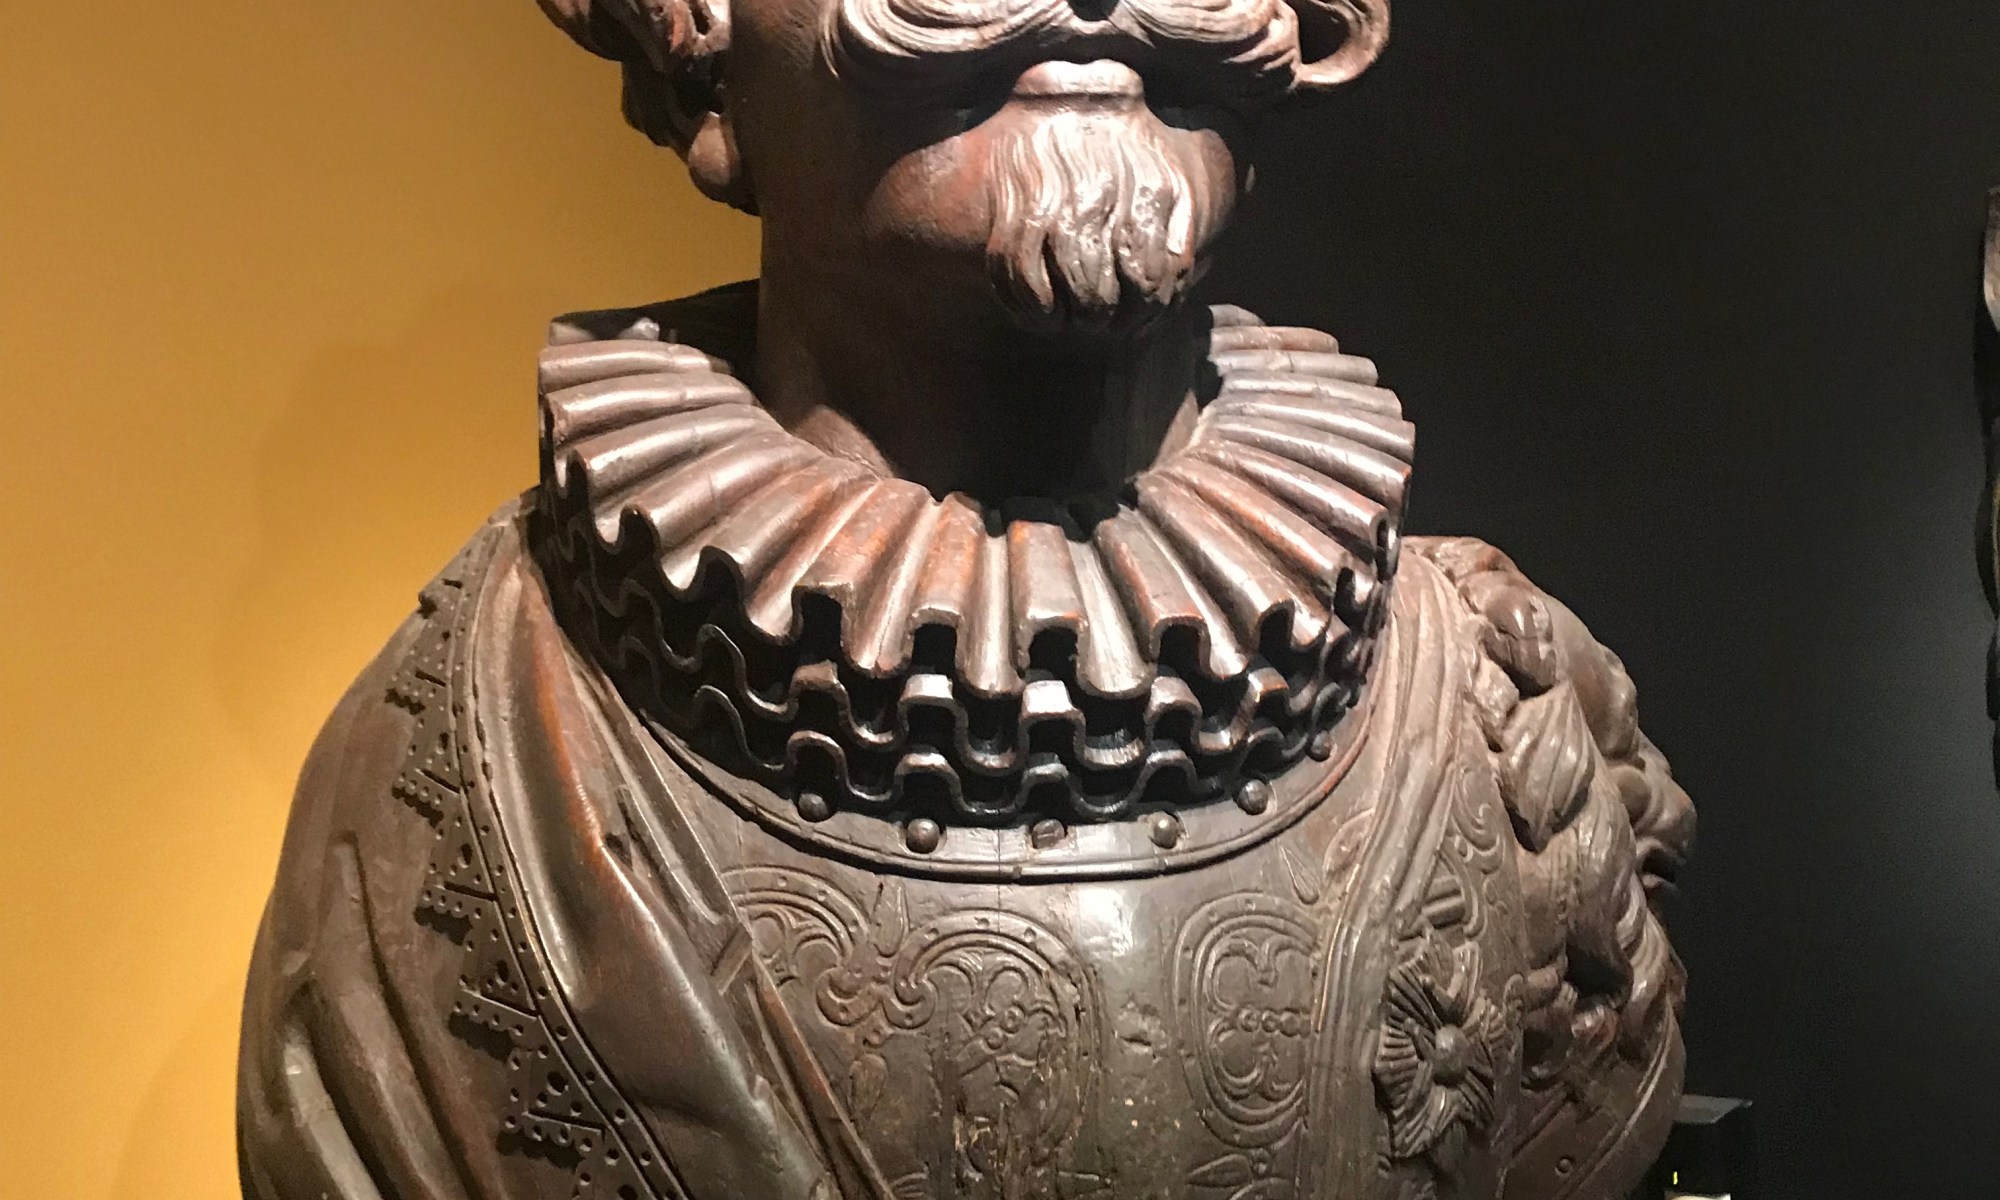
This figurehead of Sir Walter Raleigh is in the Mystic Seaport collection. He was a real Fashion Plate!
All Dressed Up…

Authentic Nautical Accessories, and Custom Furnishings
This figurehead of Sir Walter Raleigh is in the Mystic Seaport collection. He was a real Fashion Plate!
Daily writing promptTell us about the last thing you got excited about.View all responses Sometimes, it's just the little things that get you the most excited. It's like a surprisingly wonderful French Toast at the Gray Jay restaurant in Burlington, Vermont ( OK, a shameless commercial for a place I like!). Or a wonderful morning …

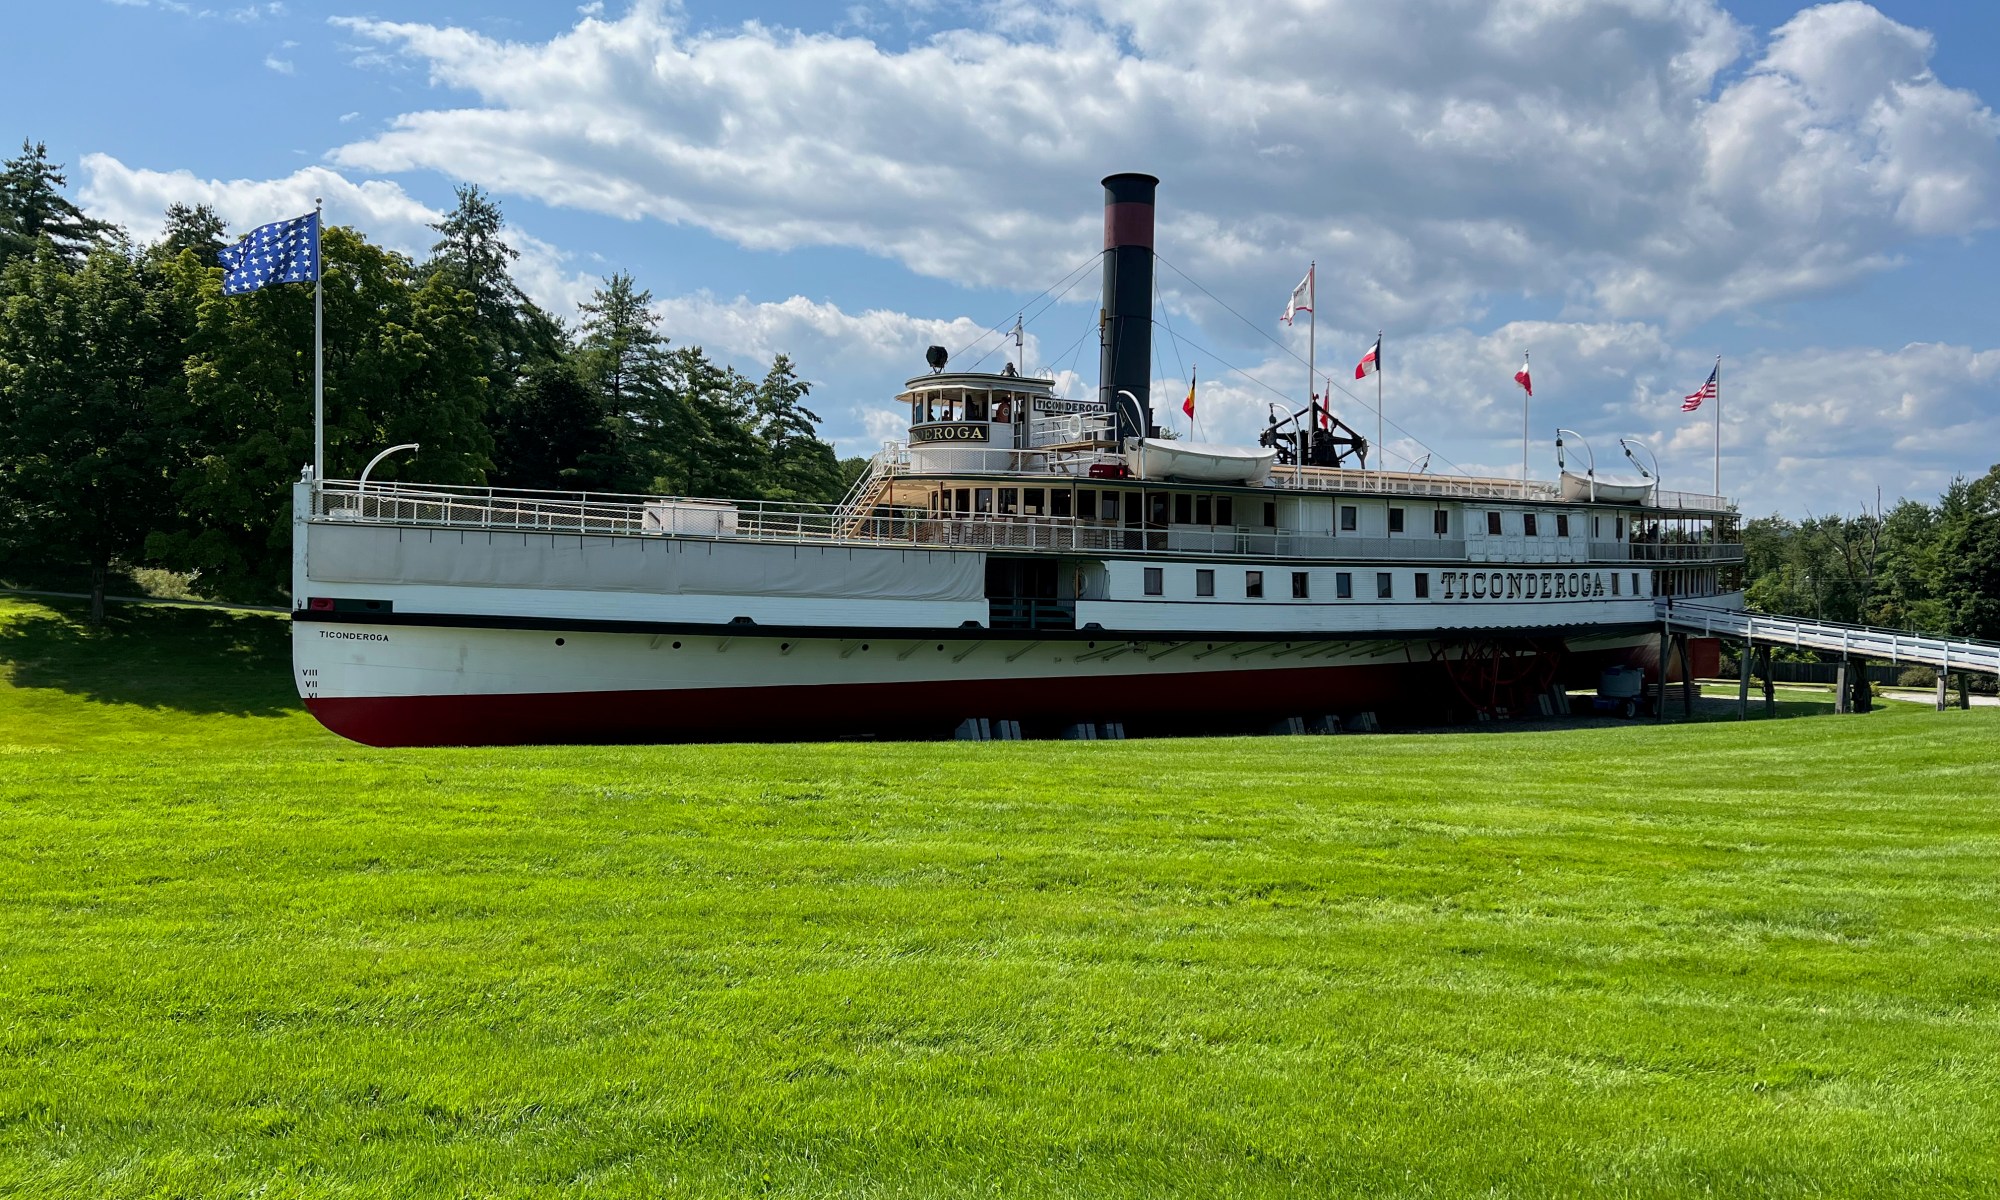
The stem boards of the Cora F Cressy raised questions about a company I had once been familiar with.
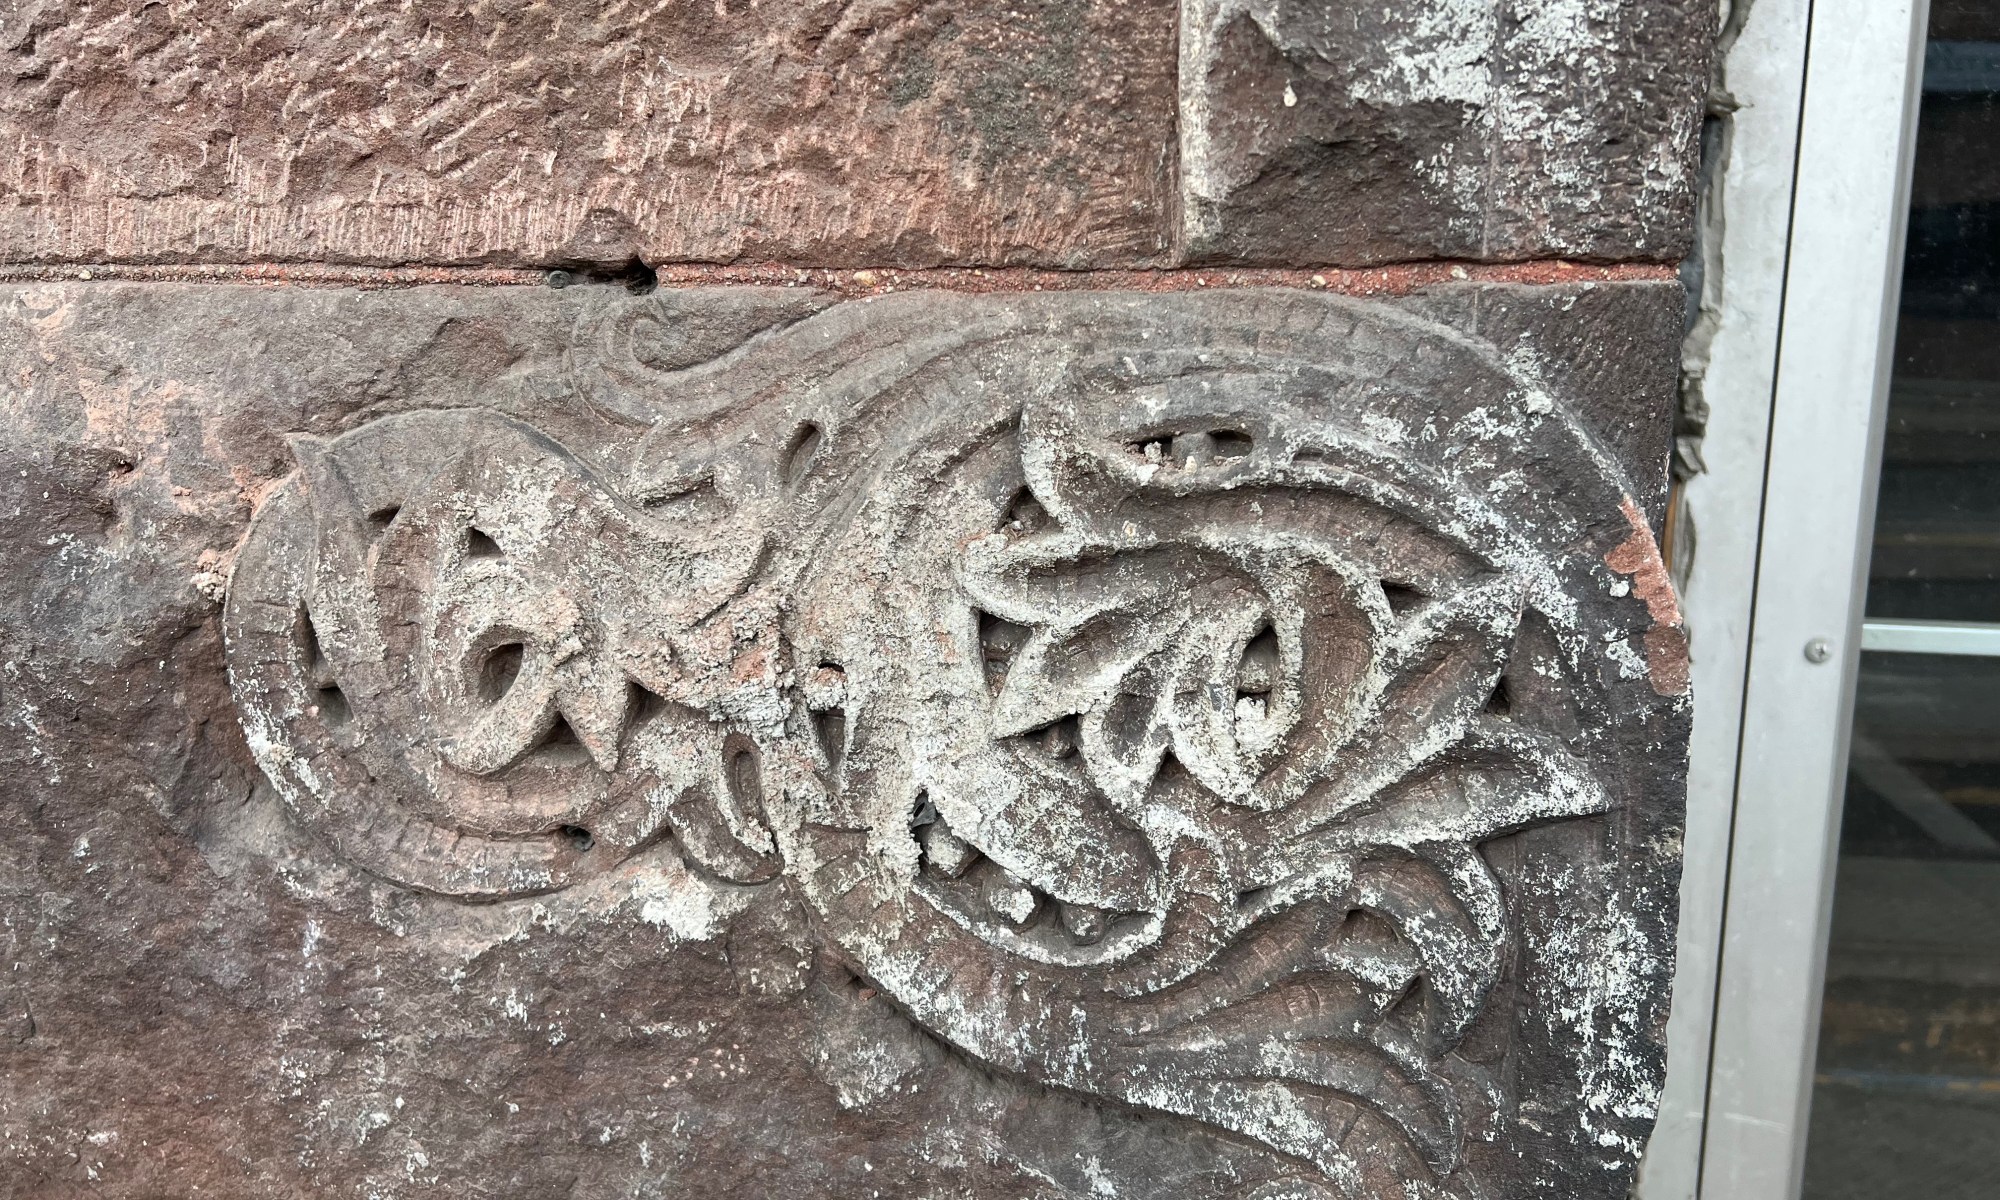
The facade of our local department store had been "refreshed in either the late forties or early fifties. But, unfortunately, the materials employed in its construction hadn't aged well.

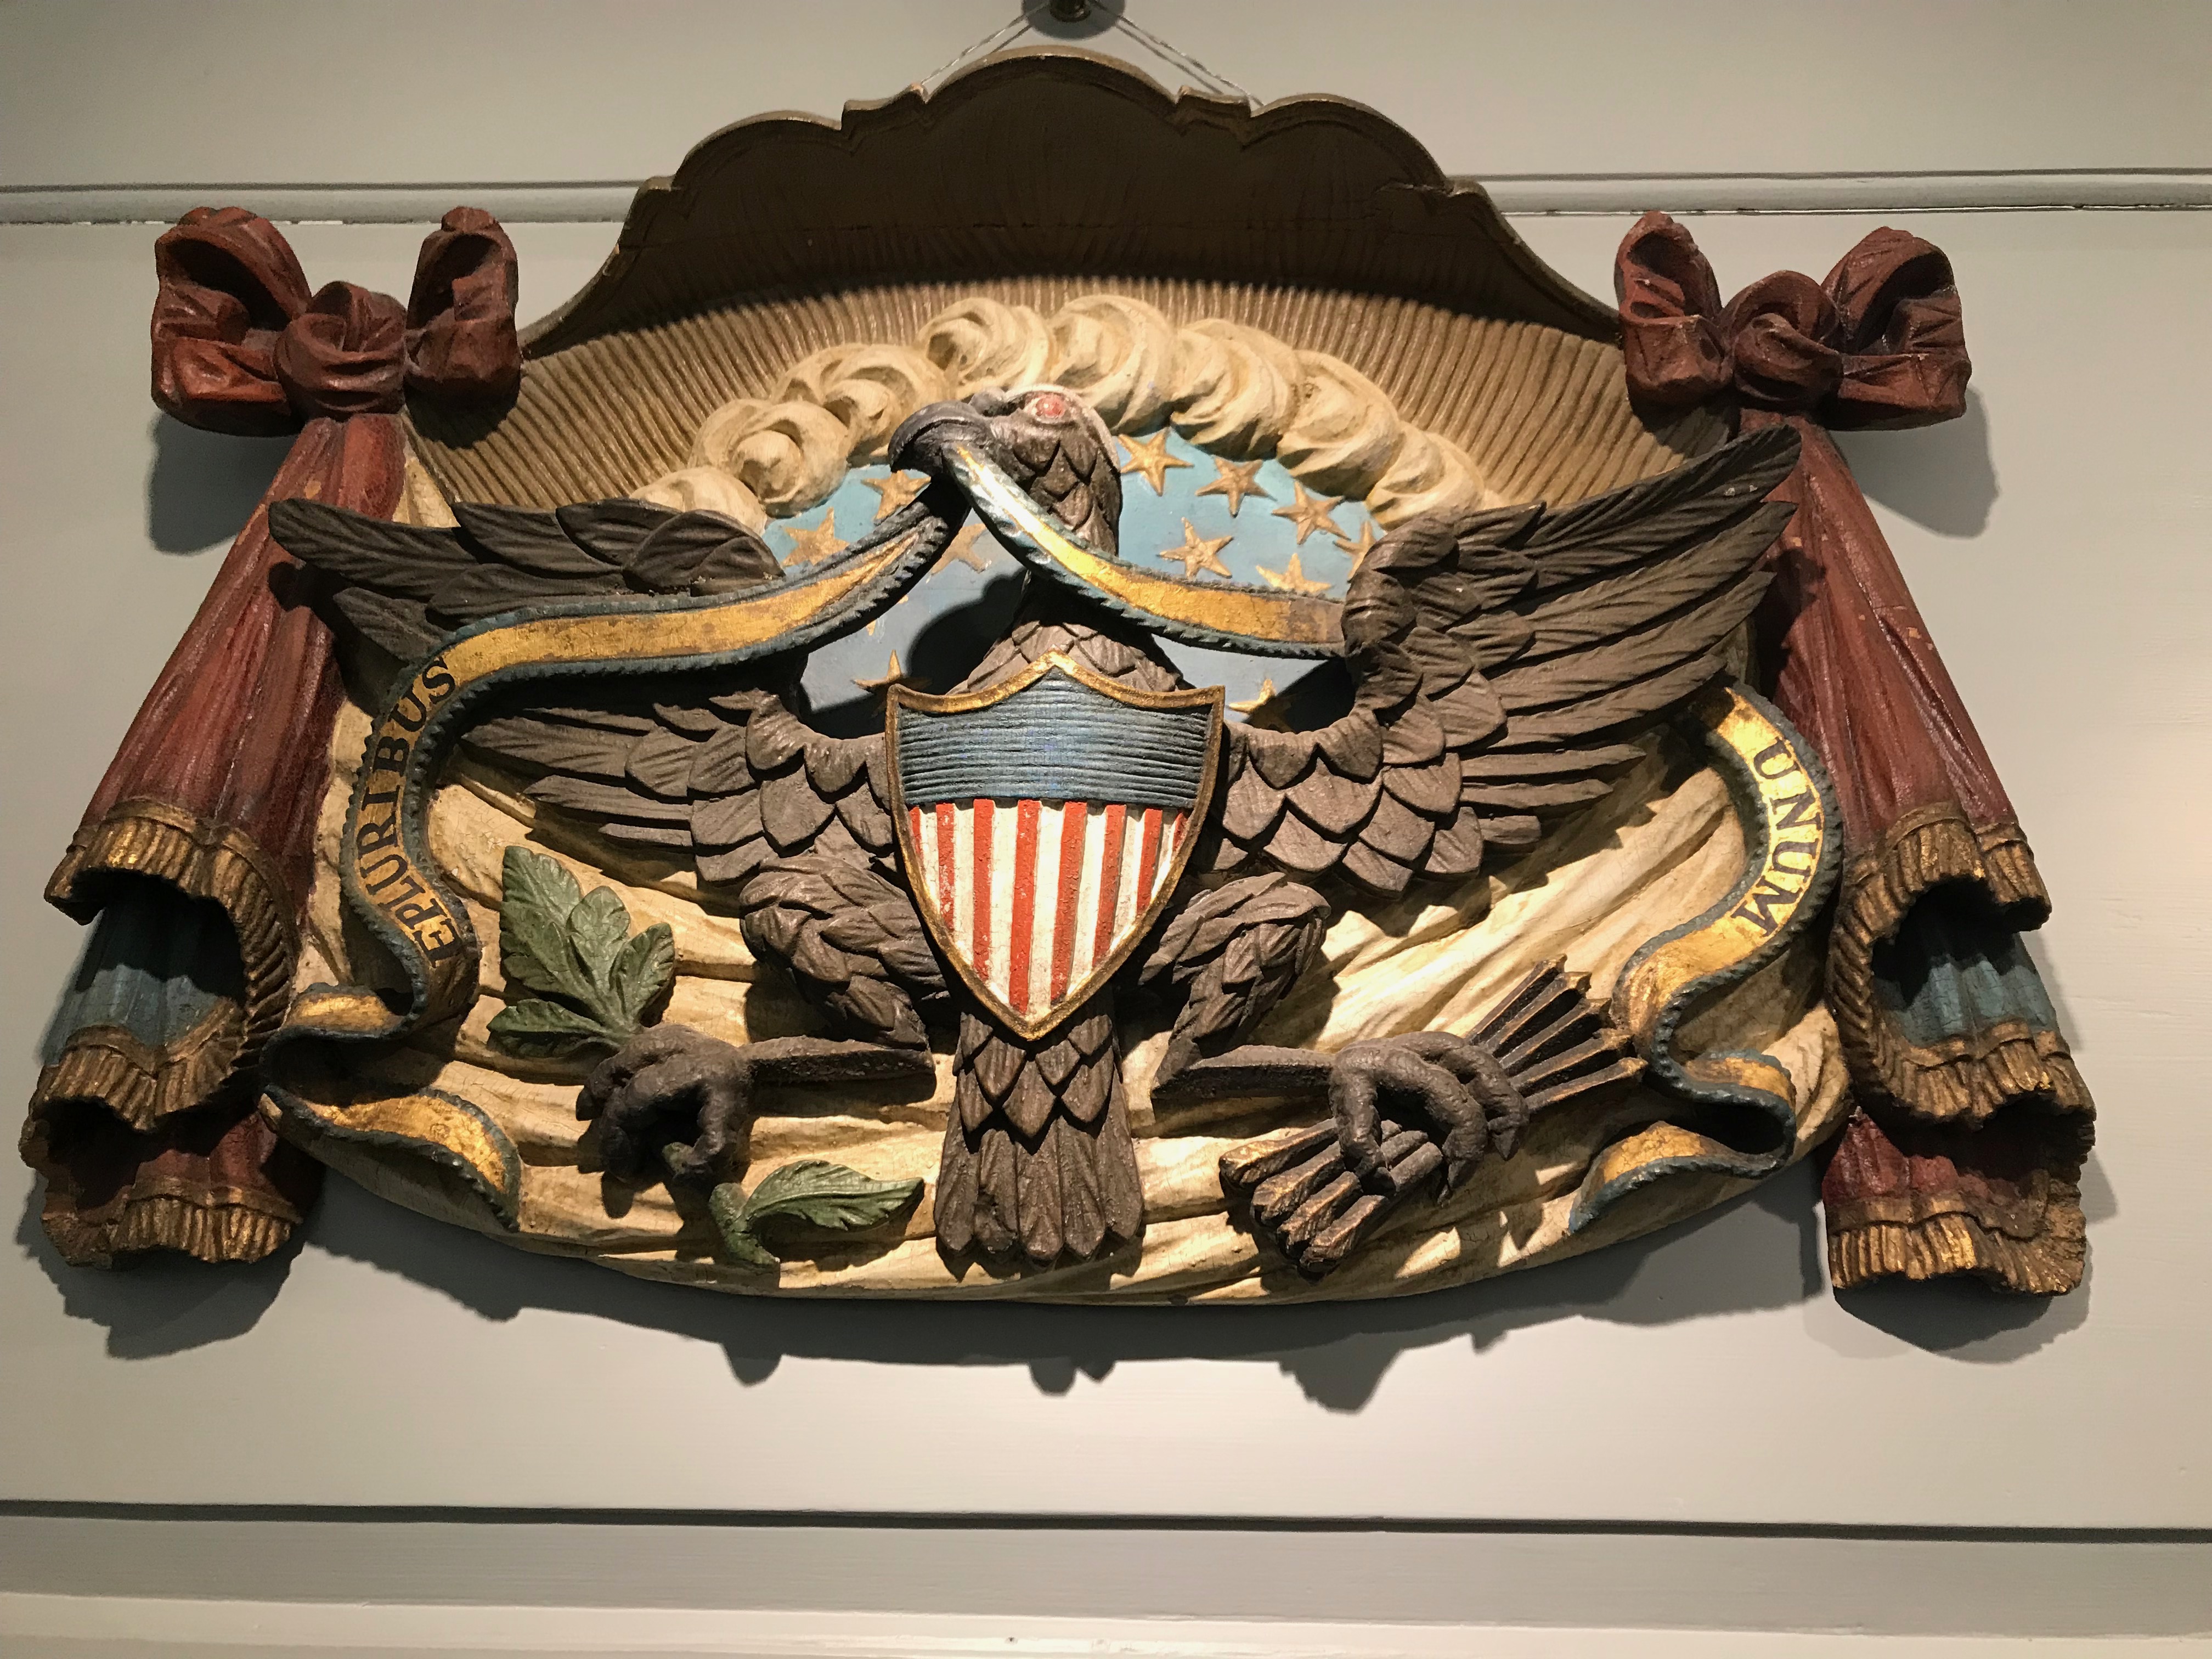
The carving shown here is in the Chase House in Strawberry Banke, a unique museum in Portsmouth, New Hampshire, that preserves the 300-year history of a waterfront neighborhood. The carving is attributed to ship carver Ebenezer Dearing and is in the formal parlor.

The buzz among some of those studying traditional crafts was that they were not entirely sure that Louis Charpentier was “really” traditional. His roots in rural Quebec carving animal figures for an Ark were unimpeachable. His decades of service as a designer for a plastics manufacturer worried some. But, carving plastic, Carving styrofoam? For some, these placed him beyond the pale.
There are always variations on old standards. Some are even improvements.
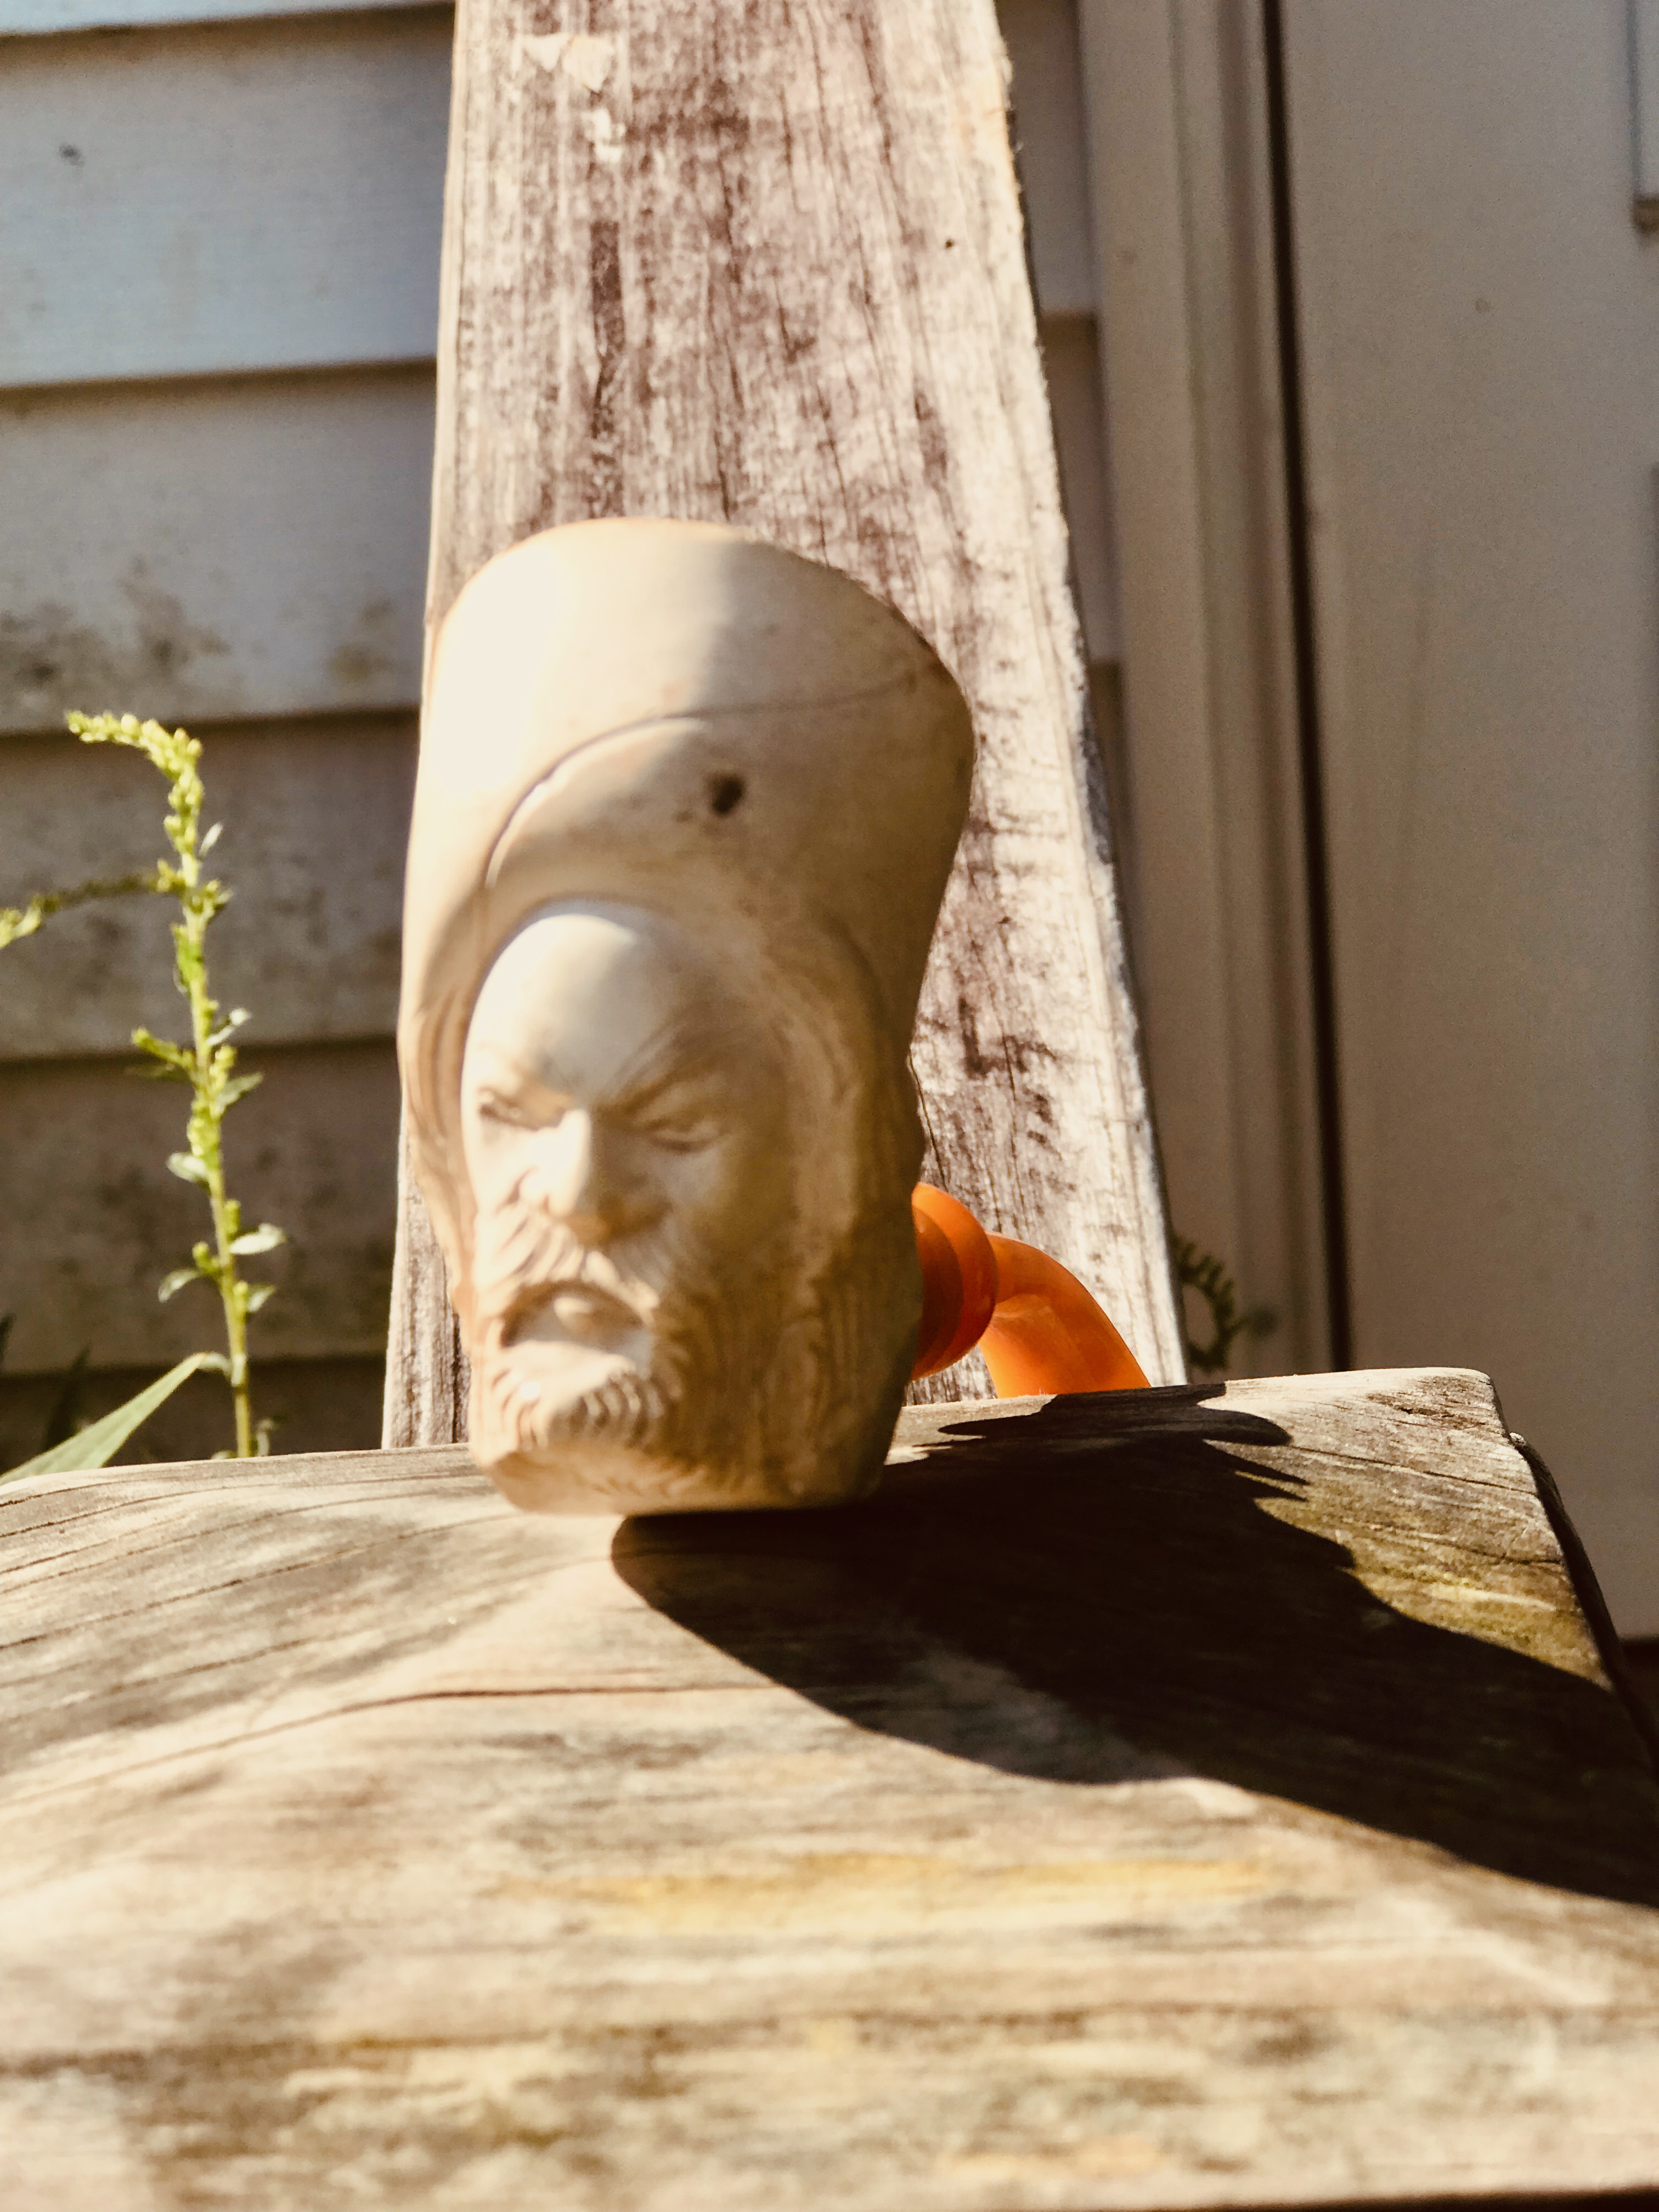
Meerschaum Pipe - Last on the Card- August 31, 2021

Carved by 19th century Salem Architect and carver Samuel McIntire
I remembered back to my own Navy days. And recalling the old rubric that "if it moves - salute it. If it doesn't paint it,"
You must be logged in to post a comment.