We were at a tavern in the Seaport district in New York. I had just won a bet on recognizing a carver's work based on their tool cuts. It was an easy win; the carvings I had identified were by a carver whose work I was familiar with.
On Style
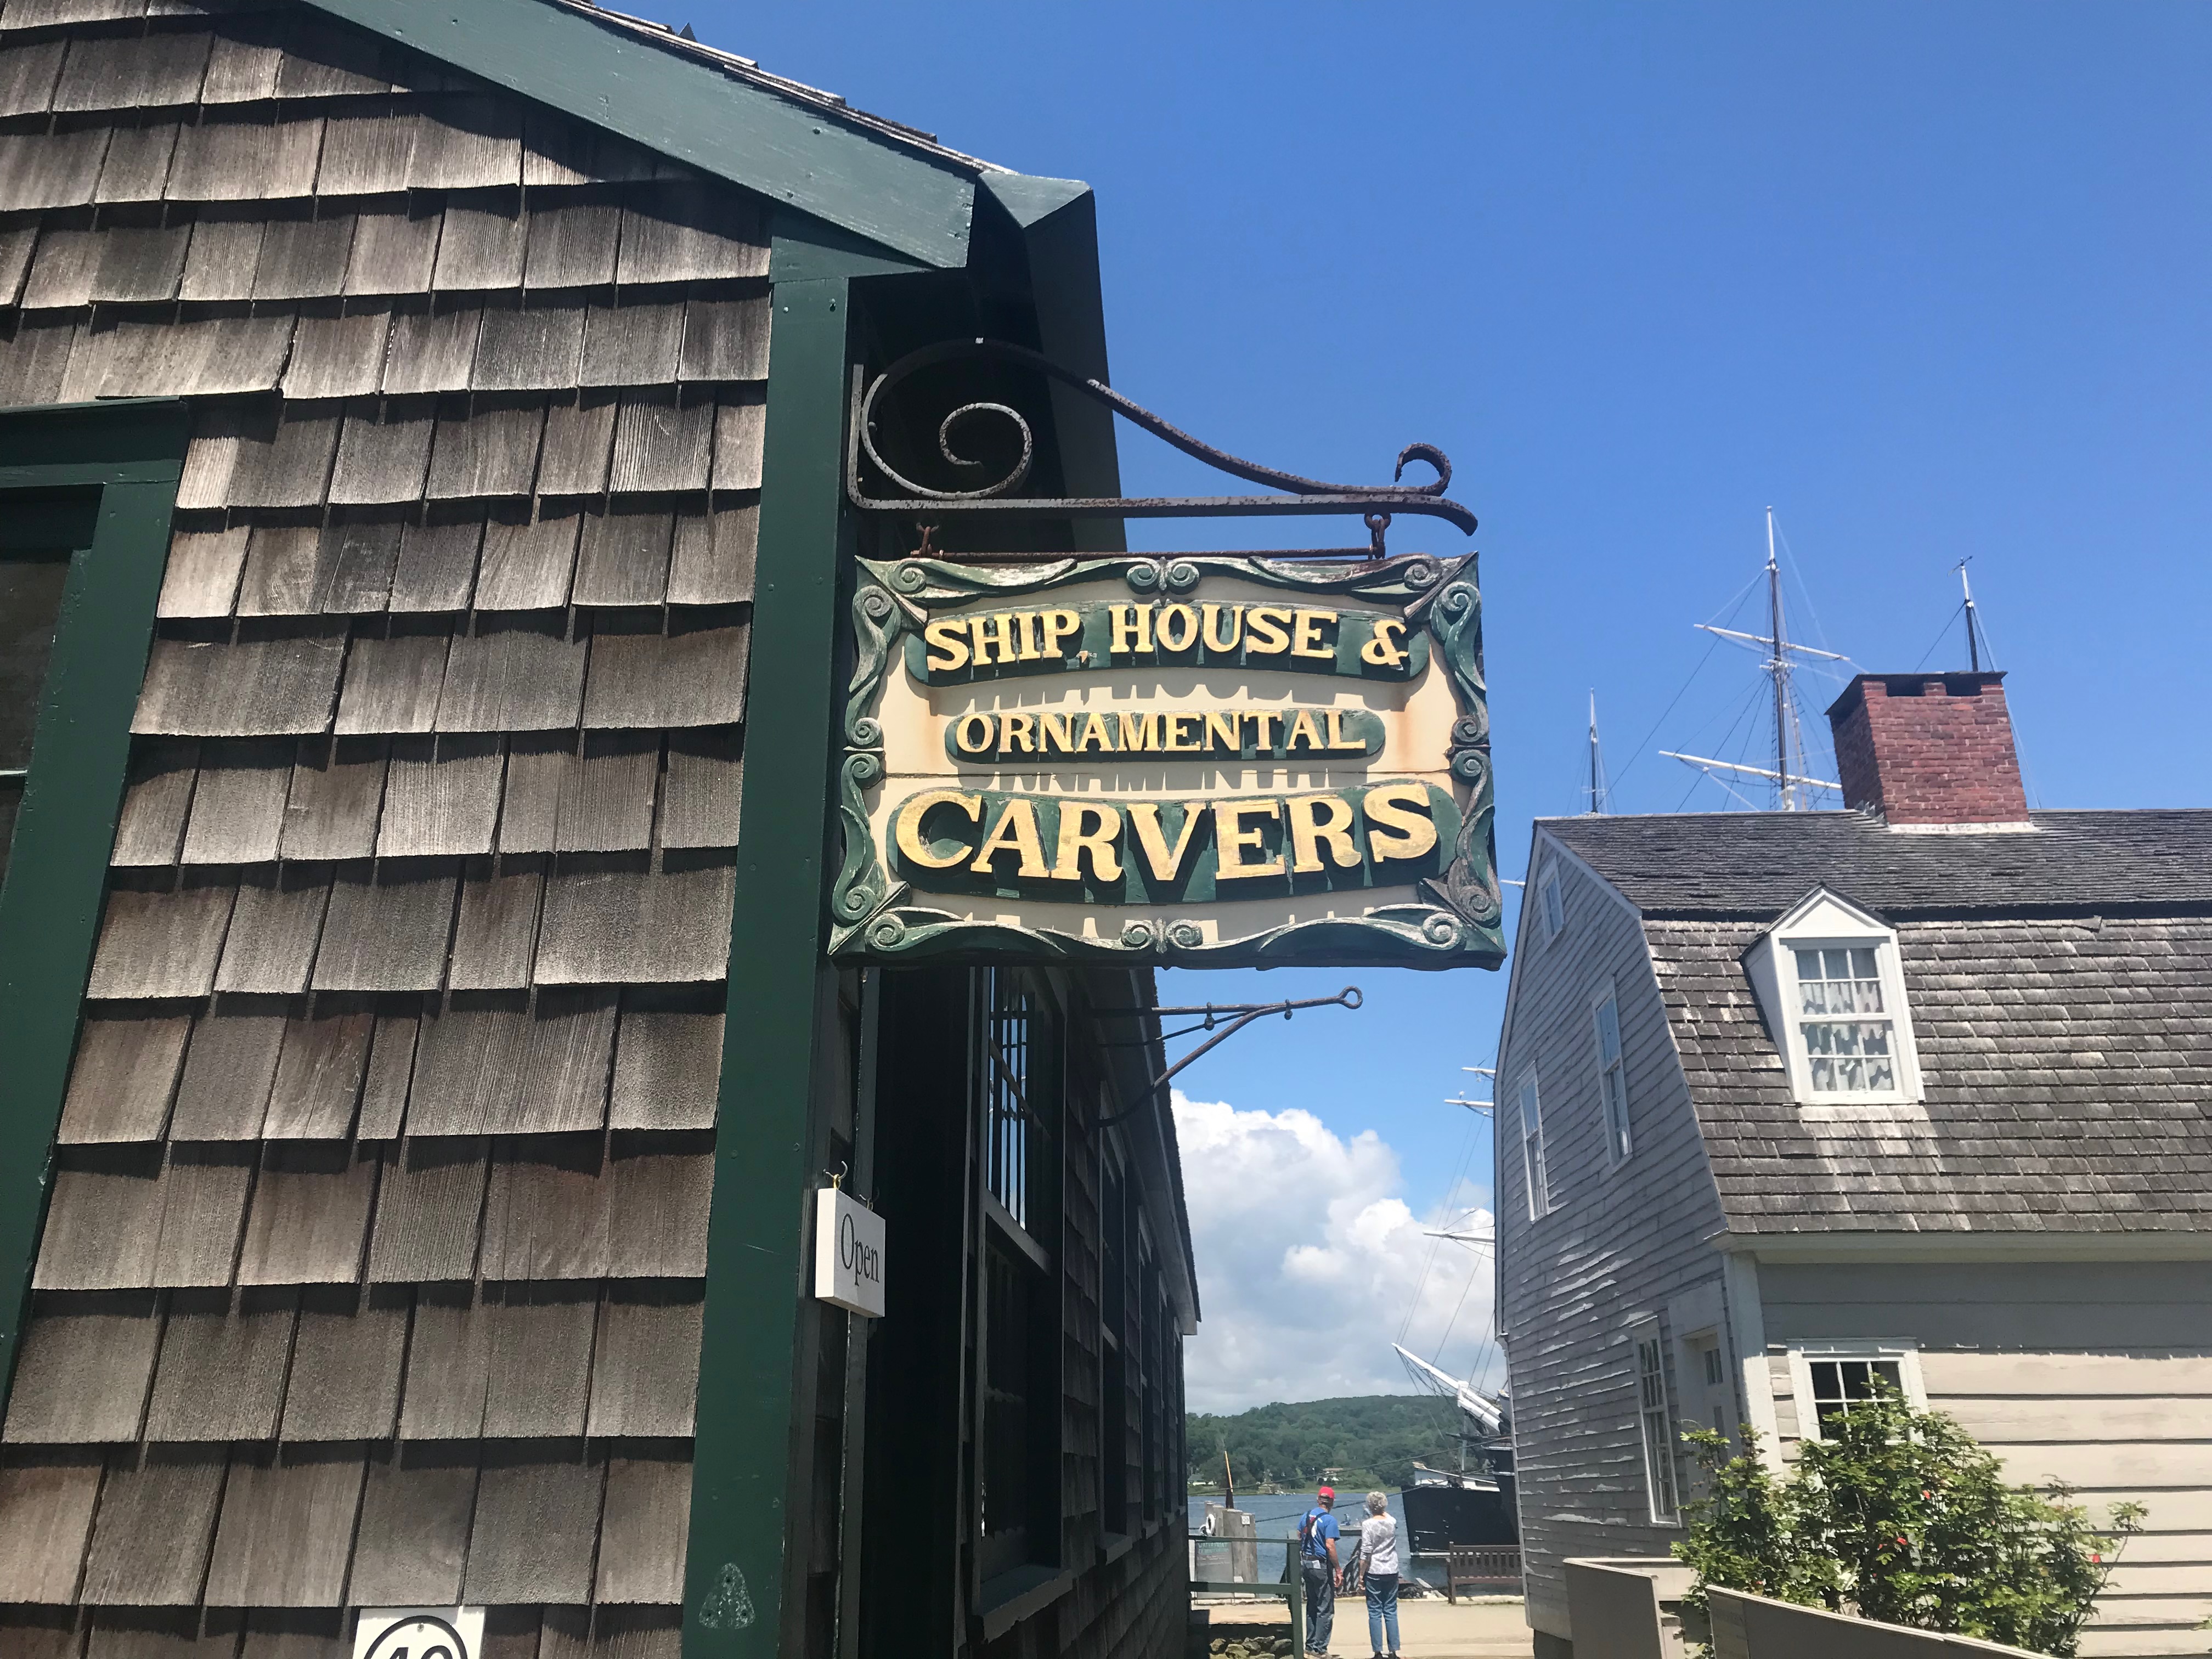

Authentic Nautical Accessories, and Custom Furnishings
We were at a tavern in the Seaport district in New York. I had just won a bet on recognizing a carver's work based on their tool cuts. It was an easy win; the carvings I had identified were by a carver whose work I was familiar with.

I've had some doozies of lucid dreams in my time. But, about six months ago, I had the most extreme case.

You might have a hancing piece in any place that needed a graceful transition.
You must be logged in to post a comment.