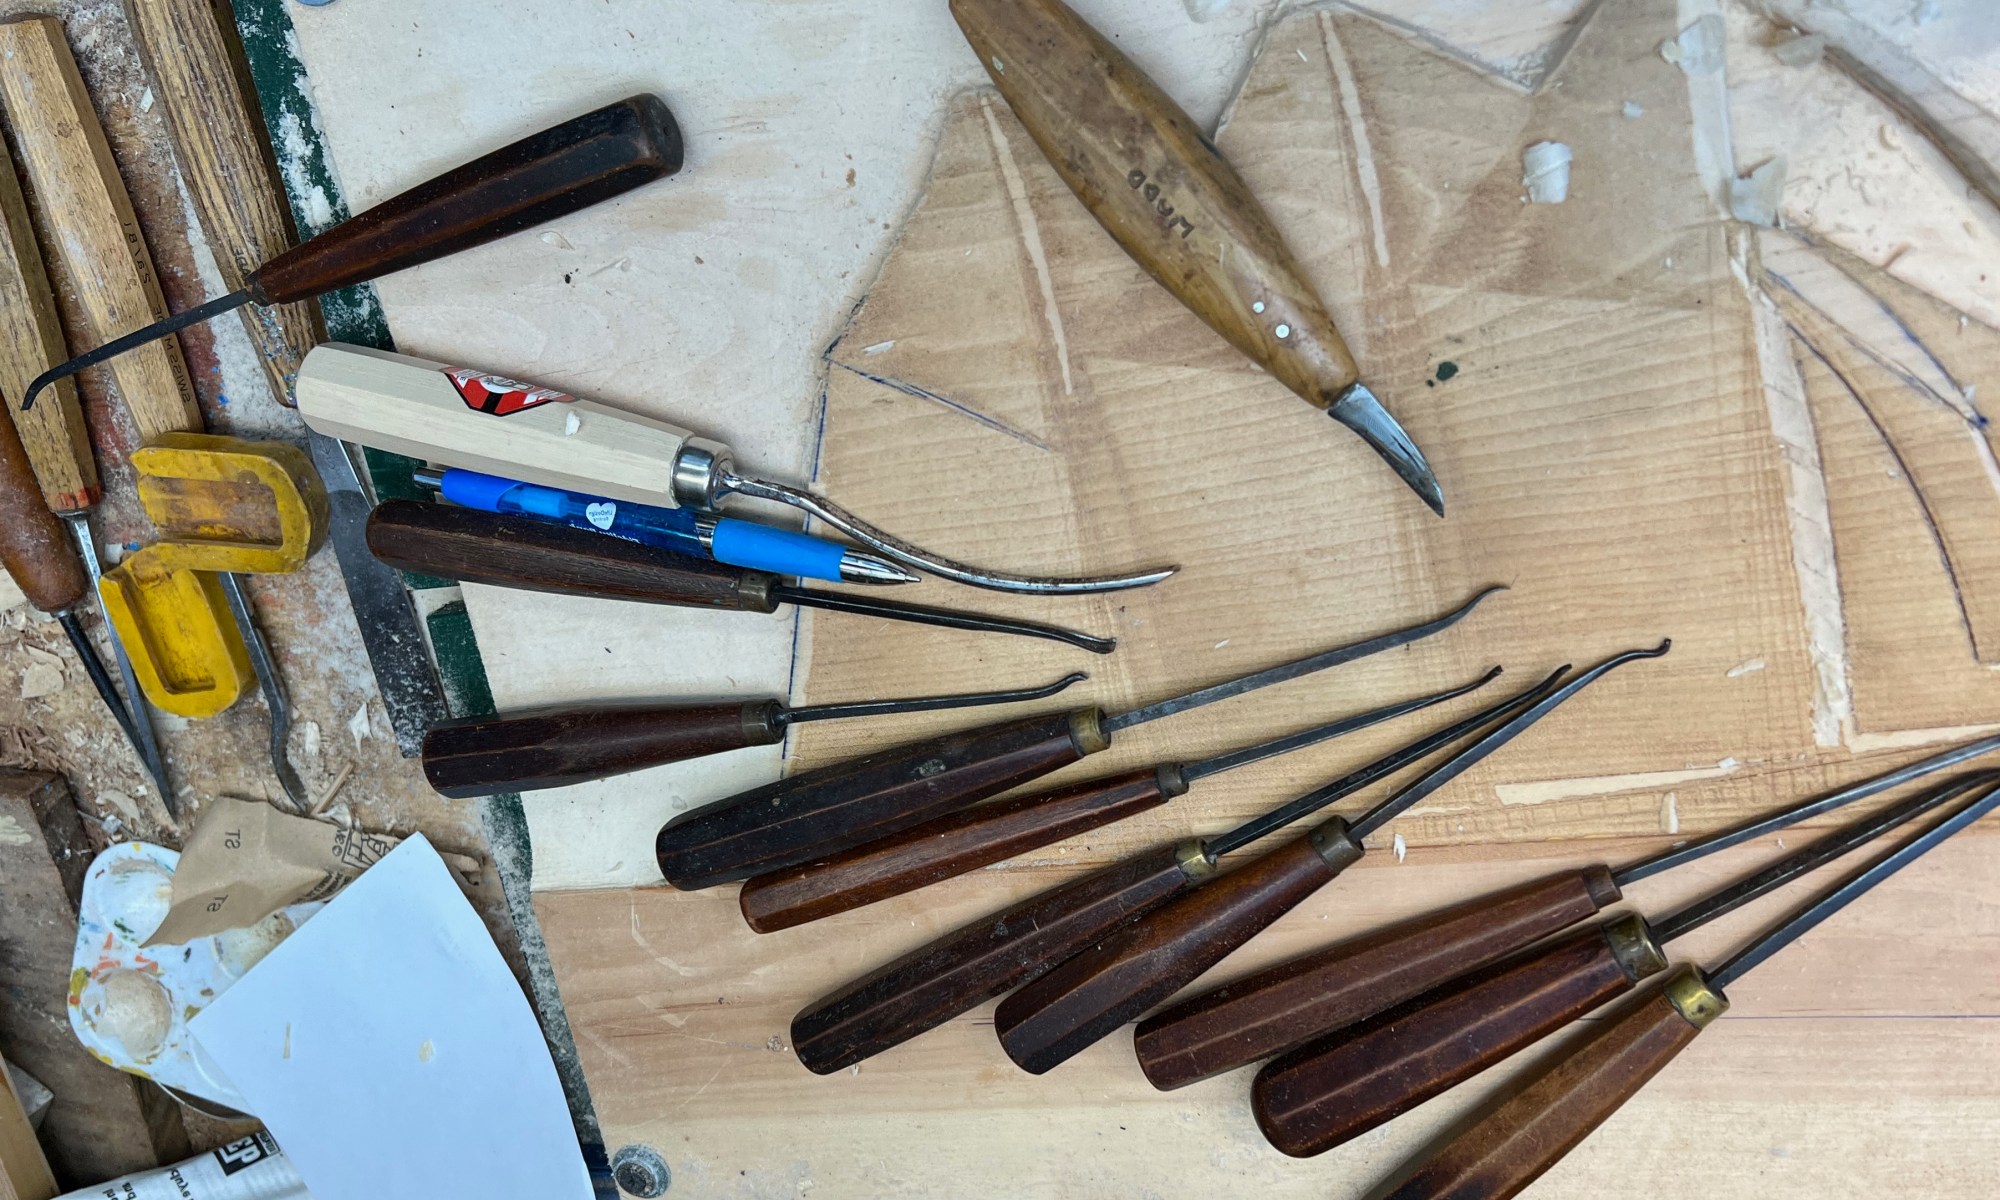
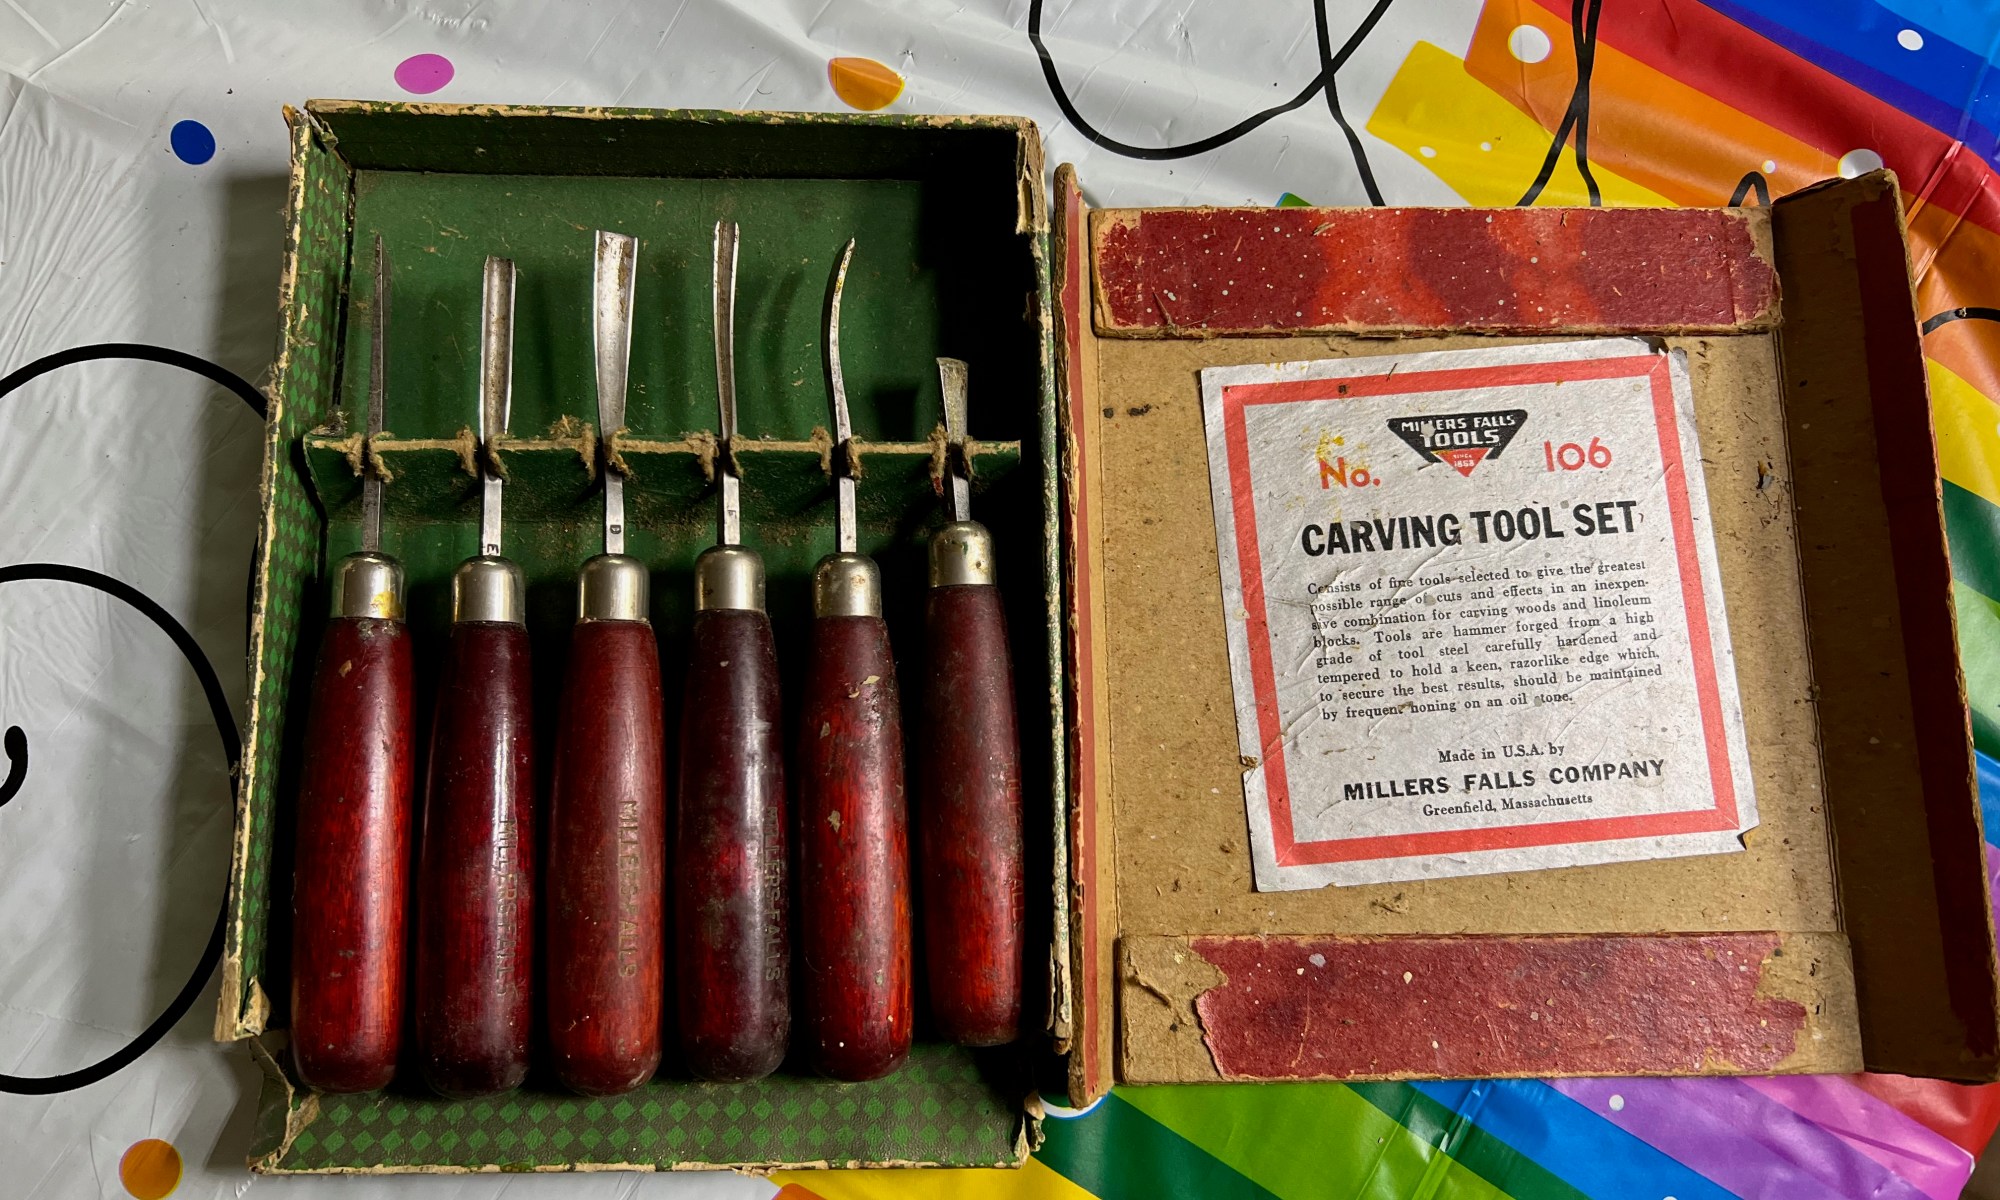
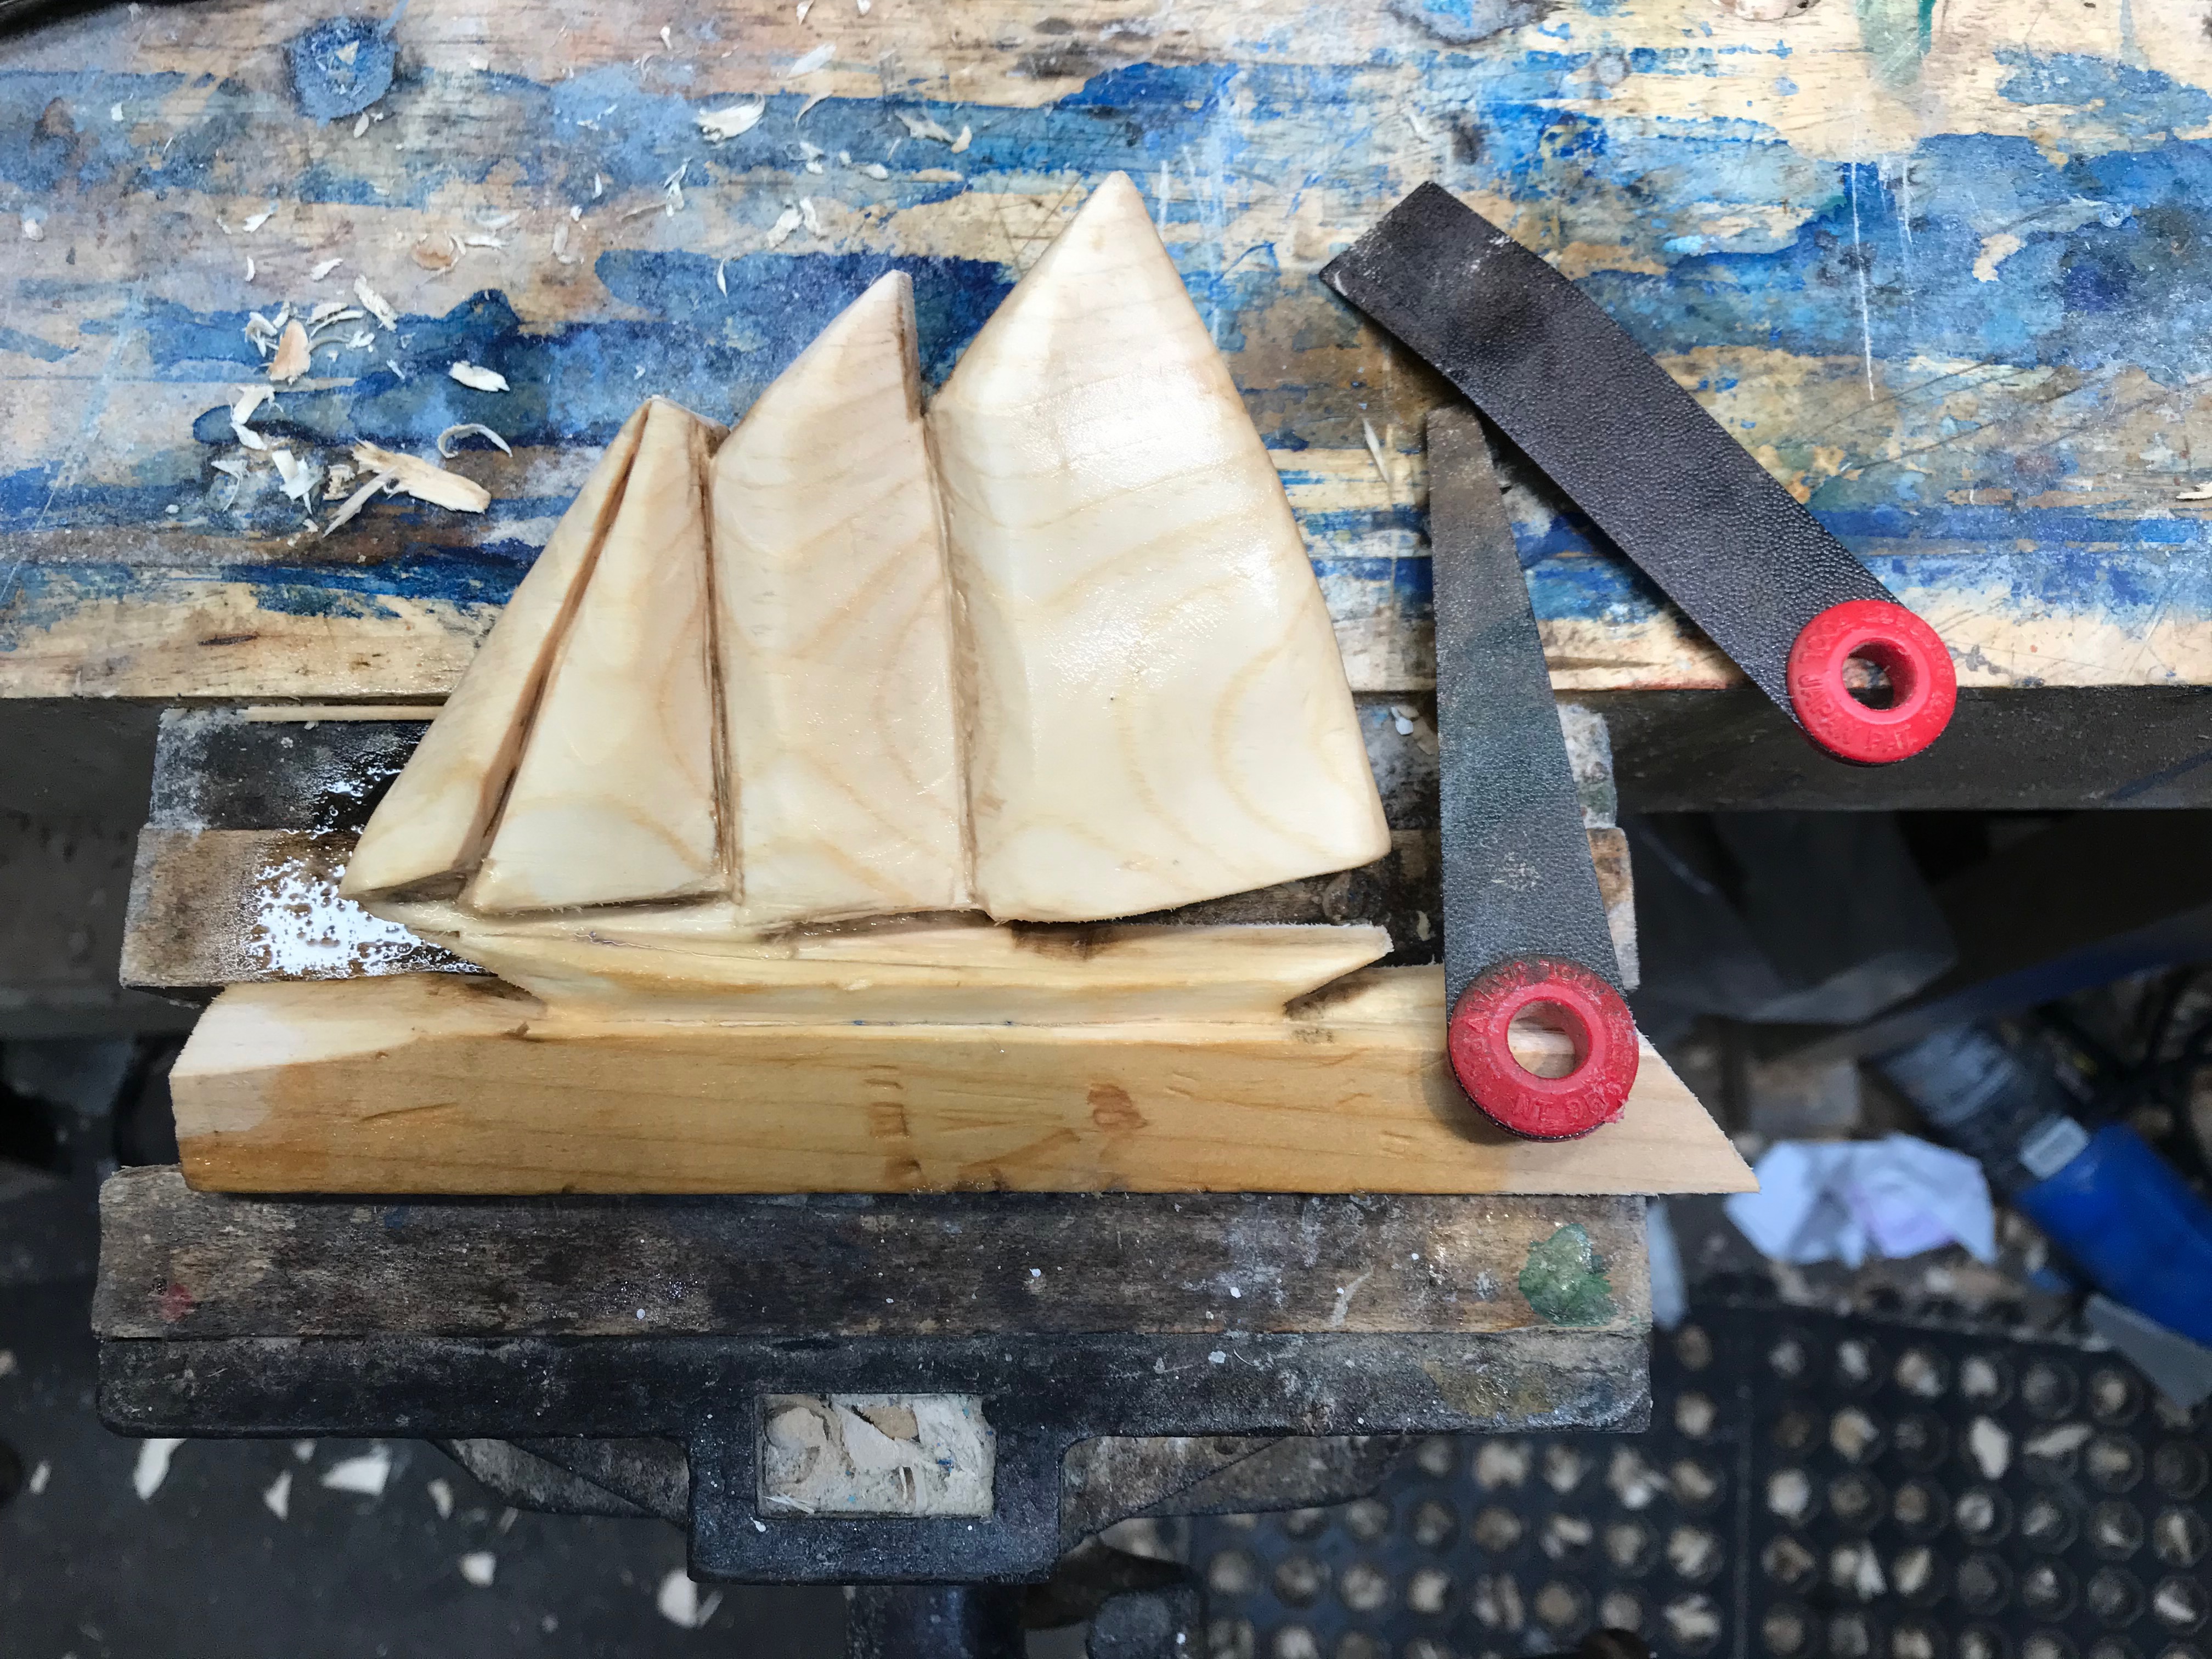
Finger Files

Little problems are sometimes big problems in carving. I mean this as in getting a file or abrasive into an odd spot. For example, recently, I was carving this small schooner for the top of a sign. I needed to smooth an area that was too tough to work with the usual riffler files, not easily accessible to sheet sandpaper, and not reachable by any attachment on my Dremel tool.

Frustrated, my eyes fell upon my set of Japanese finger files. I’ve barely used these in the several years I’ve owned them. I picked them up, thinking they’d be suitable for the odd job, but that odd job hadn’t materialized. So I grabbed one of the flat ones and discovered I could bend it. It was perfect for the job.

After using it to do the job, I examined the file and found that gentle bending did not cause the abrasive on the file to flake off. Also, there was no set on the abrasive; unlike toothed files, there were no teeth that ran in a set direction.

These tiny files will see a lot more use now. I purchased mine from Lee Valley, but I imagine other vendors also carry them. They are great for applications where toothed files might not be the most responsive tool.

Old Tools Don’t Have To Wear Out

This is an original Black and Decker Workmate from the 1980’s. For a while in the ’80’s it was my only carving bench. Then in the ’90’s it went to shows where I was doing demonstrations. Currently it lives outside the carving shop as a solid platform for working on projects that produce prodigious amounts of wood waste, like bowls.

From the paint and varnish you can see that I also use it for finishing. In all those years the only thing that has broken is one of the plastic handles. Today, I got around to replacing part of the bench top. It finally rotted away. Later this summer I’ll make a new one for the opposite side.

I doubt that any of the later iterations of this work surface could take as much abuse as this has and still be working. And remember it sits outside through New England winters.

The plastic hold down on the rear surface is a recent add on from Lee Valley – they are still making add ons that fits this bench.

If you find one of these at a flea market or yard sale give it a good look. It was made solidly in the USA when * Black and Decker was a top tool maker. I expect mine to keep going for many more years.

*As an aside I add that many later imitations were made of the original but did not have the sturdy steel construction.

Deals!!!!

I consider rebates to be a kind of iniquity. I must send in the information electronically or by mail, wait until it is verified, and wait until the rebate is redeemed. Frequently this takes so long that I am left trying to figure out where the check for $1.98 came from.
In the meantime, my name and address were sold to a thousand companies. These companies now send me catalogs and email deals too good to pass up.
So now, when a salesperson suggests a rebate is available, I merely beam at them and ask, rhetorically, why not just offer a lower price? I assume psychological and economic theory support higher prices followed by a “generous” rebate as a sales tactic, “look at all you’ll get back!”

But wait! There is still more to this rant!

I try to research my purchases for quality, price, and reputation. I prefer to pay a bit more for a good piece of merchandise rather than have a retailer try to sucker me with a “deal” that isn’t a deal. A proper deal is a fair price for a good product. Not an attempt to sucker me in with some cheap psychological trick. In addition to the rebate, there is the % off coupon. Sometimes these are good deals. If the quality of the item is good, and you need the product anyway.
But I’ve grown tired of some tool vendors’ endless email offers for discounts. I wonder if they can offer the product at such a significant discount so often if it is overpriced to start.
That line of thinking starts me wondering if they cut quality to offer cheap pricing.

I’ll admit that I developed this position when I began my woodcarving business. Comparing vendors, tools, prices, and quality received becomes second nature when you have a genuine need to own tools that do the job and offer a good return on investment. As a result, I own tools that have been in service for many decades.

The old advice of Caveat Emptor, let the buyer beware, has never been more true. However, part of the problem is that we all continue to fall for sales tactics that were probably old in Roman times. I am waiting for the discovery at Pompeii of the wall graffiti advertising Gaius Tiberious’ used chariots – Deals, Deals, Deals!!!!!

Whack!

You can’t carve without removing wood. And removing wood can be as delicate a process as lightly slipping the gouge through the wood or propelling it forcefully. Apply too much force in the wrong situation, and you have lovely kindling. On the other hand, be too bashful in pushing the tool through the wood, and you won’t remove the right amount.
The carver controls the movement of the tool through wood by holding and guiding with one hand and propelling with the other. With both hands on the gouge or chisel, your arms and the force of your body provides the energy. Need a bit more oomph? Use the meaty part of your palm to hit the end of the gouge. Here is the tricky part. It takes practice to learn to gauge just how much force is enough. Your body is continually giving you feedback on how effective your cutting is. With a bit of practice, you’ll learn to judge the force needed.
This sounds a bit metaphysical to the beginner, but it’s not – sensation is a free tool you need to learn to use if you’d be a carver.

When you need more force than a hand can provide, you bring in heavier tools. A carver’s tool to malleate, hit, or pound wood is a mallet; the words share a common root. Carver’s mallets come in many shapes and weights. But they are not the blocky square shape used by a carpenter or joiner. Instead, the carver’s mallet is rounded. The picture below shows some of the mallets I use regularly. Of course, the wood needs to be hard and dense to take the punishment the tool receives.

These are my mallets. Note that most are shop made from firewood, and yes the bench is dirty…I work on it.

Why do I have so many? Depending on the force needed, I’ll select my mallet. The largest one I use when “wasting” or removing large amounts of wood – as I might while hollowing the wings of a carved eagle. The smaller ones, like the little palm mallet, are for when I want more delicate control. I can often get finer control using this mallet than I can with both hands on the tool. Once again, it’s experience and paying attention to the feedback sensation from the tool and the wood.

Some of the mallets are shop-made, and some are purchased. My favorite palm mallet I shaped from a knot of elm. It was a hunk of firewood.
Whatever carving project you work upon, a star-spangled banner, or a delicate spray of acanthus leaves, You’ll make choices of tools. Like gouges and chisels, Mallets are not all alike. Don’t use the largest mallet if you don’t need it, and consider making some of your own. They are another helpful tool that you will need to master.

Tools of the Trade: Sanding Mops

So, you couldn’t use these to mop a floor. The name probably derives from the mop-like look they get after prolonged use—sort of like the dark brown one at the top of the photo. The Yellow ones are just assembled and won’t look as moppy for a while. Sanding mops are lovely in the woodshop for sanding complex shapes because they’ll get into nooks and crannies. Depending upon the grit of the sandpaper, they can be more or less aggressive. I like to use these to get into the hollows of spoons and small bowls where hand sanding is awkward. The range of grits I use goes from an aggressive 80 grit to 120 and then a 220 grit shaped like a cup. You can use them in a drill, but a drill press is probably best.
I get mine from Canadian dealers ( Stockroom Supply and Lee Valley), but other suppliers sell them also ( unfortunately, I have no stock in either company).

If you haven’t tried this sanding tool and have an appropriate application, I’d suggest that you try them.

Facile Bonum Est

In the early days of developing a Folklife program for a governmental agency, a planner in another department asked how we came up with so many neat program ideas. We were flattered by the compliment, but my colleague and I looked at each other, hemmed and hawed a bit, and then expressed our formula: 

” Simple; easy, is good.”

“So- Facile Bonum Est?” – Easy (or simple) is good?” The little epigram became the motto of our center and the guide for all our programs. Avoid over-complication. I carved a simple banner with that on it for our office.

Avoiding complicating things applies all over: from plot complications in novels, cooking, folklife programs, and of course, my favorite woodwork. 

You can’t put too much complication into a gouge. You might alter the handle, the tang, or the steel, but the essential tool seems to have been the same since Roman times. You can, of course, complicate sharpening. And that’s what many people have done. As a carver, it’s your choice how deep in the weeds you’d like to go with that. Up to that point, the complications are a personal and additive choice. 

When we come to power tools, it’s another story. Manufacturers add on “improvements” that promise to improve the quality of the product.

A few years ago, my ancient Delta power planer bit the dust. It had about twenty years of hard duty on it, planing everything: pine, oak, cherry, lots of mahogany, sassafras, and more. In the parlance – it owed me nothing. Too many parts were shot to consider a rebuild, so I bought a new planer.

The new planer was very well-reviewed online and in woodworking magazines. It had several new features that promised to make my woodworking experience incredible. Over about three years, those new features made my woodworking experience incredibly miserable. Last fall, I sat down to weep over some locally cut pine stock that looked ruined by the great planer. I called someone up who loved all the widgets and told him he could pick this up on Wednesday morning before the trash got picked up for a reasonable price; free. I just wanted it off my property and out of my shop. The unique features just never worked for me and seemed to get in my way. Critically, they were not optional.

The new planer is a Hitachi, powerful, simple. No doodads to get in the way.

A big part of why most of us work in wood is the sheer pleasure that comes from just doing it. Keep it simple – “Facile Bonum Est.”

For Beginners

I’ve prepared some materials for beginners, which I hope will make the first steps in carving easier, and help to make you a more successful woodcarver.

Please bear in mind that without attention to safety woodcarving can be dangerous. Always use protective goggles against flying chips, be careful to plan out cuts so that you don’t cut yourself. If a cut looks unsafe, it probably is; reposition your work for safety. 
Consider taking a course with a carver at either an adult education center, or at one of the many exceptional craft education centers. Safety comes first. Personal protective gear for carvers includes safety glasses, finger guards, cut resistant gloves, and an anti-skid surface on which to place your work.

Tools:
Tools for carvers come in a wide variety of shapes, sizes, and qualities. When I was getting started, it was easier to get badly cheated on carving tools. They were hard to find, and sometimes of very indifferent quality. I was lucky and unlucky: my first set was an old Millers Falls set that is no longer made; my second set was an expensive full-size set of truly awful English tools. When the whole kit was stolen in Philadelphia, I was heartbroken at the loss of my Millers Falls tools and grateful that those terrible English things had gone on to a more deserving owner.
Your decisions on tools have long-lasting effects. Take the time to do it right.

Tool kits:
The Sayres tool kit. This is a compact, and versatile toolset available from the Leigh Valley website. Lee Valley has these available pre-sharpened ( which I advise strongly).
3/8″ 60° parting tool
5/8″ #5 gouge
3/8″ #7 gouge
3/8″ #3 gouge
1″ #3 gouge
This kit around $ 259 at the time I am writing (2019). Yes, good tools are not cheap.

I mostly use Pfeil ( Swiss made tools). Here is a basic tool kit that I’d take traveling if I needed to do some necessary work.
I have given you the sweep and size of the tool. You can purchase these tools online from Woodcraft Supply.

# 5 sweep – 20mm
#7 sweep – 20mm
#7 sweep fishtail – 14mm
#8 sweep- 25mm
#11 veiner- 7mm
#12 V-tool – 8mm
#1 Skew firmer – 16mm ( a chisel beveled on both sides)
I have been satisfied with my Pfeil tools, and have used many of them for over forty years. If you needed to cut the size of the purchase initially, you could eliminate the veiner, and one of the number 7 gouges.

Either of these tool kits can be added to, but Sayres kit cannot be subtracted from. This is a very flexible assortment of tools for carving, and with your knife, it is a good foundation tool kit.

Knives:
Knives are very personal. If a knife is not comfortable to hold, it’s irrelevant how good the design or steel is. To start with you’ll need one knife: a curved back, straight-edged chip carvers knife ( sometimes called a sheepsfoot shape.
A couple of things to remember:
Don’t buy a stainless steel carving knife. Stainless steel will be hard for you to restore a really sharp edge on. Stainless is also brittle. You don’t want a blade snapping the first time you put a bit of pressure on it. The vendors I have listed will have a wide variety of knives available. Avoid folding knives, utility knives, knives made for modelers work. I advise chip carvers knives. Avoid thin blades. although most of mine come custom made from a smith ( Mudd Sharrigan in Wiscasset, Maine) I also have many from Murphy Tool, and from Lee Valley

Additional Tools:

Things you’ll need which are probably around your home:
safety glasses; ruler; number 2 pencils; transfer paper (carbon paper for transferring designs); erasers; nail or vegetable brush- for cleaning out dust and chips; box or case to hold your kit,
Ceramic stones: pocket size extra fine and fine
Importantly, you’ll need something to keep your work from slipping around dangerously. A piece of work that moves while you are cutting is a danger to you, and you may see hours of work ruined. A few clamps are of use for securing work. I also use anti-skid materials like drawer liners and carpet backing. Look at my post on carvers hooks for how to make a portable work surface. You will not be the only carver to start out on a table or countertop.

What brand tools to buy:
I buy from Pfeil (Swiss made Tools), Henry Taylor, Warren, Harmon, Murphy, Addis Brothers and whoever else has what I like and want.
Reputable companies include those above and: Sorby, Stubai, Ashly Isles, Two Cherries, and others.
Not all tools made by a manufacturer are of equal quality. Sorby makes fantastic turning tools. But I don’t care for their carving tools. Pfeil gouges are my preferred manufacturer for gouges, but I would not use their knives. This is a personal preference.

What to expect from a tool manufacturer:
Most of the time, the tools you order will arrive and be fine right out of the box. But you should be aware of a few points:
1.) Many manufacturers sell tools ground, but not finely sharpened or honed. For beginners, I recommend that they get their tools honed and ready to use by the company they are ordering from.
2.) All manufacturers use mass-produced handles. Some of these are very good, but others are awful. Watch out for too much finish on these handles. You may need to take a bit of steel wool to them and knock off a bit of the gloss and excess. If you don’t do this, the tool might slip in your hand, or give you blisters.
3.) Gross defects. You probably won’t find any, but look for misaligned handles, unevenly ground bevels and any other sloppiness. Send the tool back. It’ll take too long to fix the defect, and you paid good money for a useable tool.

An online search will show many tool vendors. Not all are reputable. Among the ones I deal with and have found trustworthy are:

Woodcraft Supply – one of the premier tool dealers for carvers and woodworkers in general. Source for Swiss Made Pfeil tools

Woodcarvers Supply, Inc. – This Florida based operation has a good selection of supplies for carvers. Sourceõ for Henry Taylor Tools.

Lee Valley/ Veritas – The Sayres tool kit is available through these folks – pre-sharpened. I’ve had some good experiences with their service and tools. There is an emphasis on hand tools which has been declining in the offerings of other retailers.
Reading list:

One of my favorite carvers, Ian Norbury, has pointed out that many woodcarvers don’t read works on the craft. The mystical experience of staring at the wood is overrated; it has less to tell us than the accumulated wisdom of skilled carvers. Read.
The first two books mentioned are essential to marine carving. The others are general carving texts:

Jay S. Hanna – The Shipcarver’s Handbook, WoodenBoat Publications, Inc. 1988. An excellent book for the beginner and advanced carver. This is the text for our course.

David Hassell – Woodcarving Decorative Signs and Eagles. Tiller Publishing, 1997. While he shows a different approach to letter carving than I use his book is one of the most valuable resources for marine carvers available.

These are some excellent beginners text works:

Charles Marshall Sayers – The Book of Woodcarving: technique, designs, and projects. Dover, 1948 – Dover edition – 1978.

Richard Butz- How to Carve Wood: a book of projects and techniques. The Taunton Press, 1984.

These days the issue of a book being in print and available new is less of an issue than it was ten years ago. All the titles I’ve mentioned are either in print or are available at many used book sellers; the internet is your friend.

Vernacular​

You can buy fancy ones, or make them from scrap. This one is preindustrial. I first saw one like this in my mentor’s shop. Unlike most it’s a single piece of wood -a moments work on the bandsaw, perhaps four with a handsaw. It hooks over the bench or in a vice and holds small stock while I finish plane it. As old shops get cleaned out most of these are consigned to the kindling pile. But, as humble as it is, it’s as at home in an 18th-century joiners shop as a modern one.

IMG_3751


%d bloggers like this: