"You can't gain mastery unless you can do slowly what you now do at full speed."
Speed

Authentic Nautical Accessories, and Custom Furnishings
"You can't gain mastery unless you can do slowly what you now do at full speed."

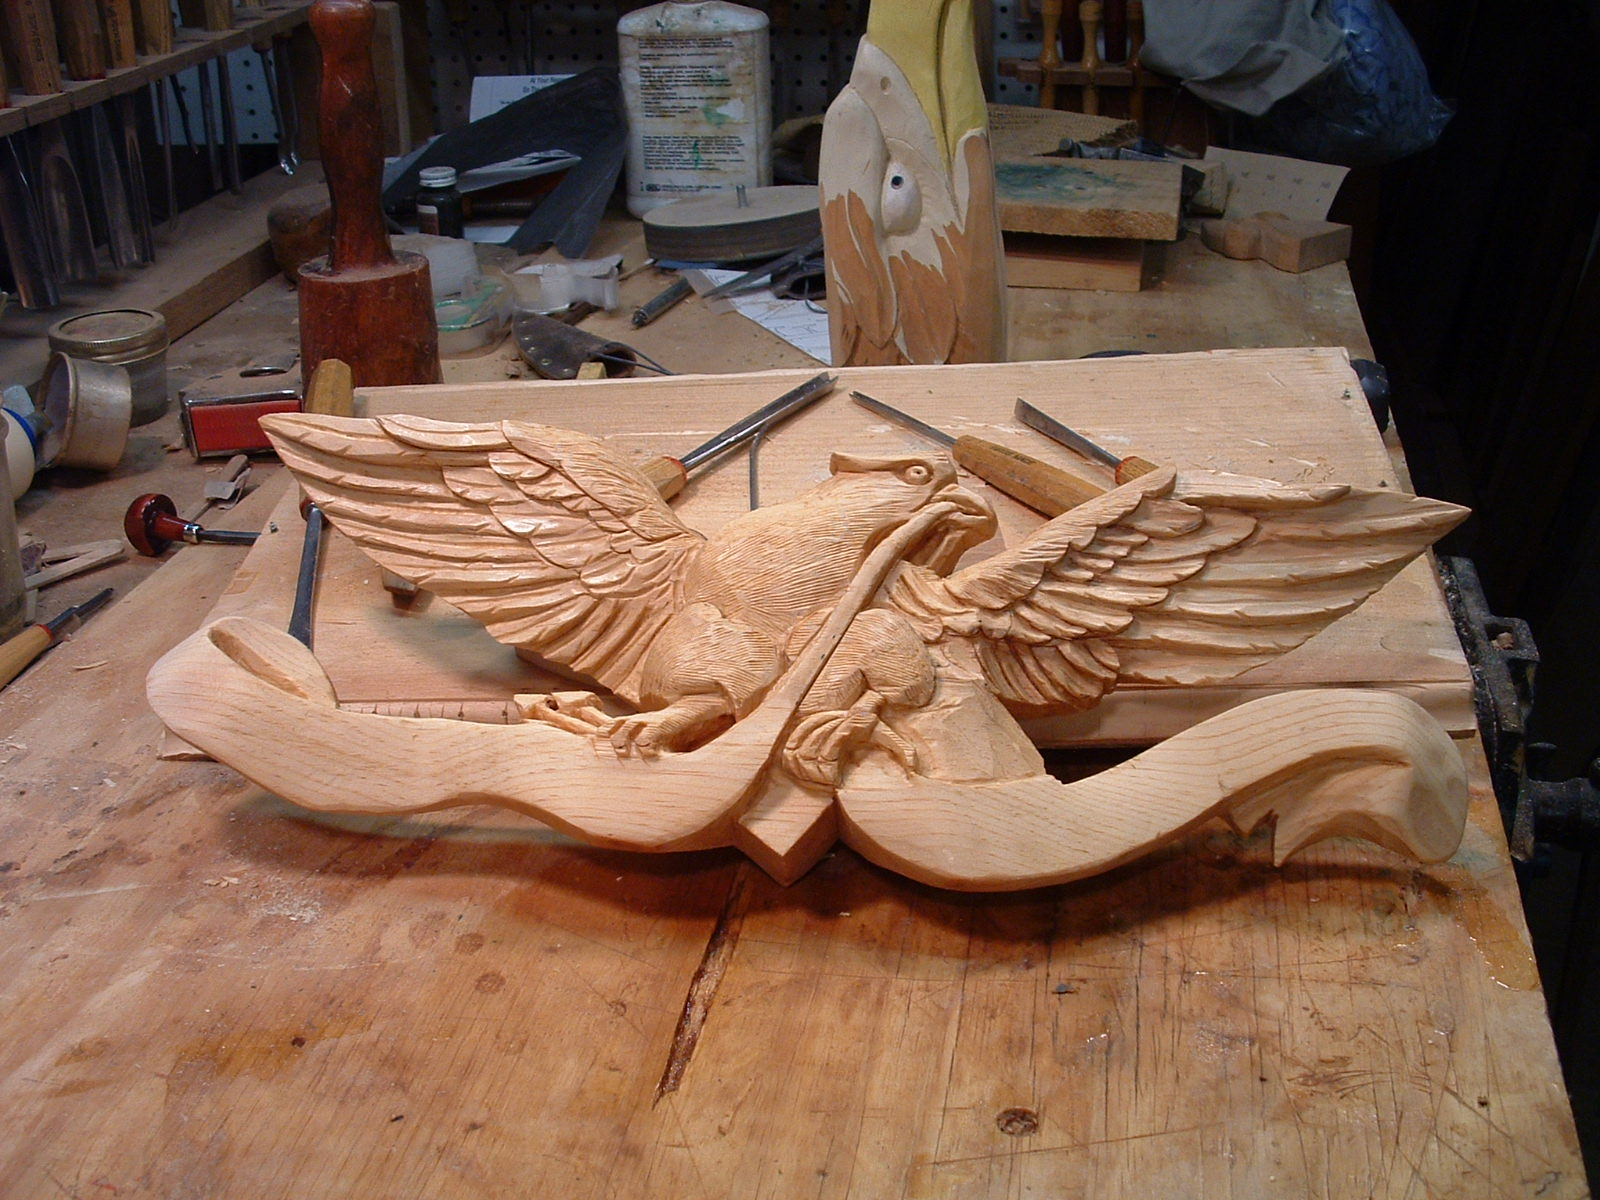
You might have a hancing piece in any place that needed a graceful transition.
"Now let the tool do the work. The edge is sharp. All you have to do is guide it." That was me to a student at the WoodenBoat School years ago. More recently, sensei said to me, "Lou, the sword is sharp, let it do the cutting. All you have to do is guide it." …
We all want to be instant experts. One of my sensei describes this in terms of the training montages that are standard fare in martial arts movies; the neophyte progresses from clumsy beginner to skilled pro in thirty seconds of cinematic snapshots. The rest of us suffer from dissatisfaction and disappointment from being less than optimal for much longer.

Working directly from the log always offers surprises.
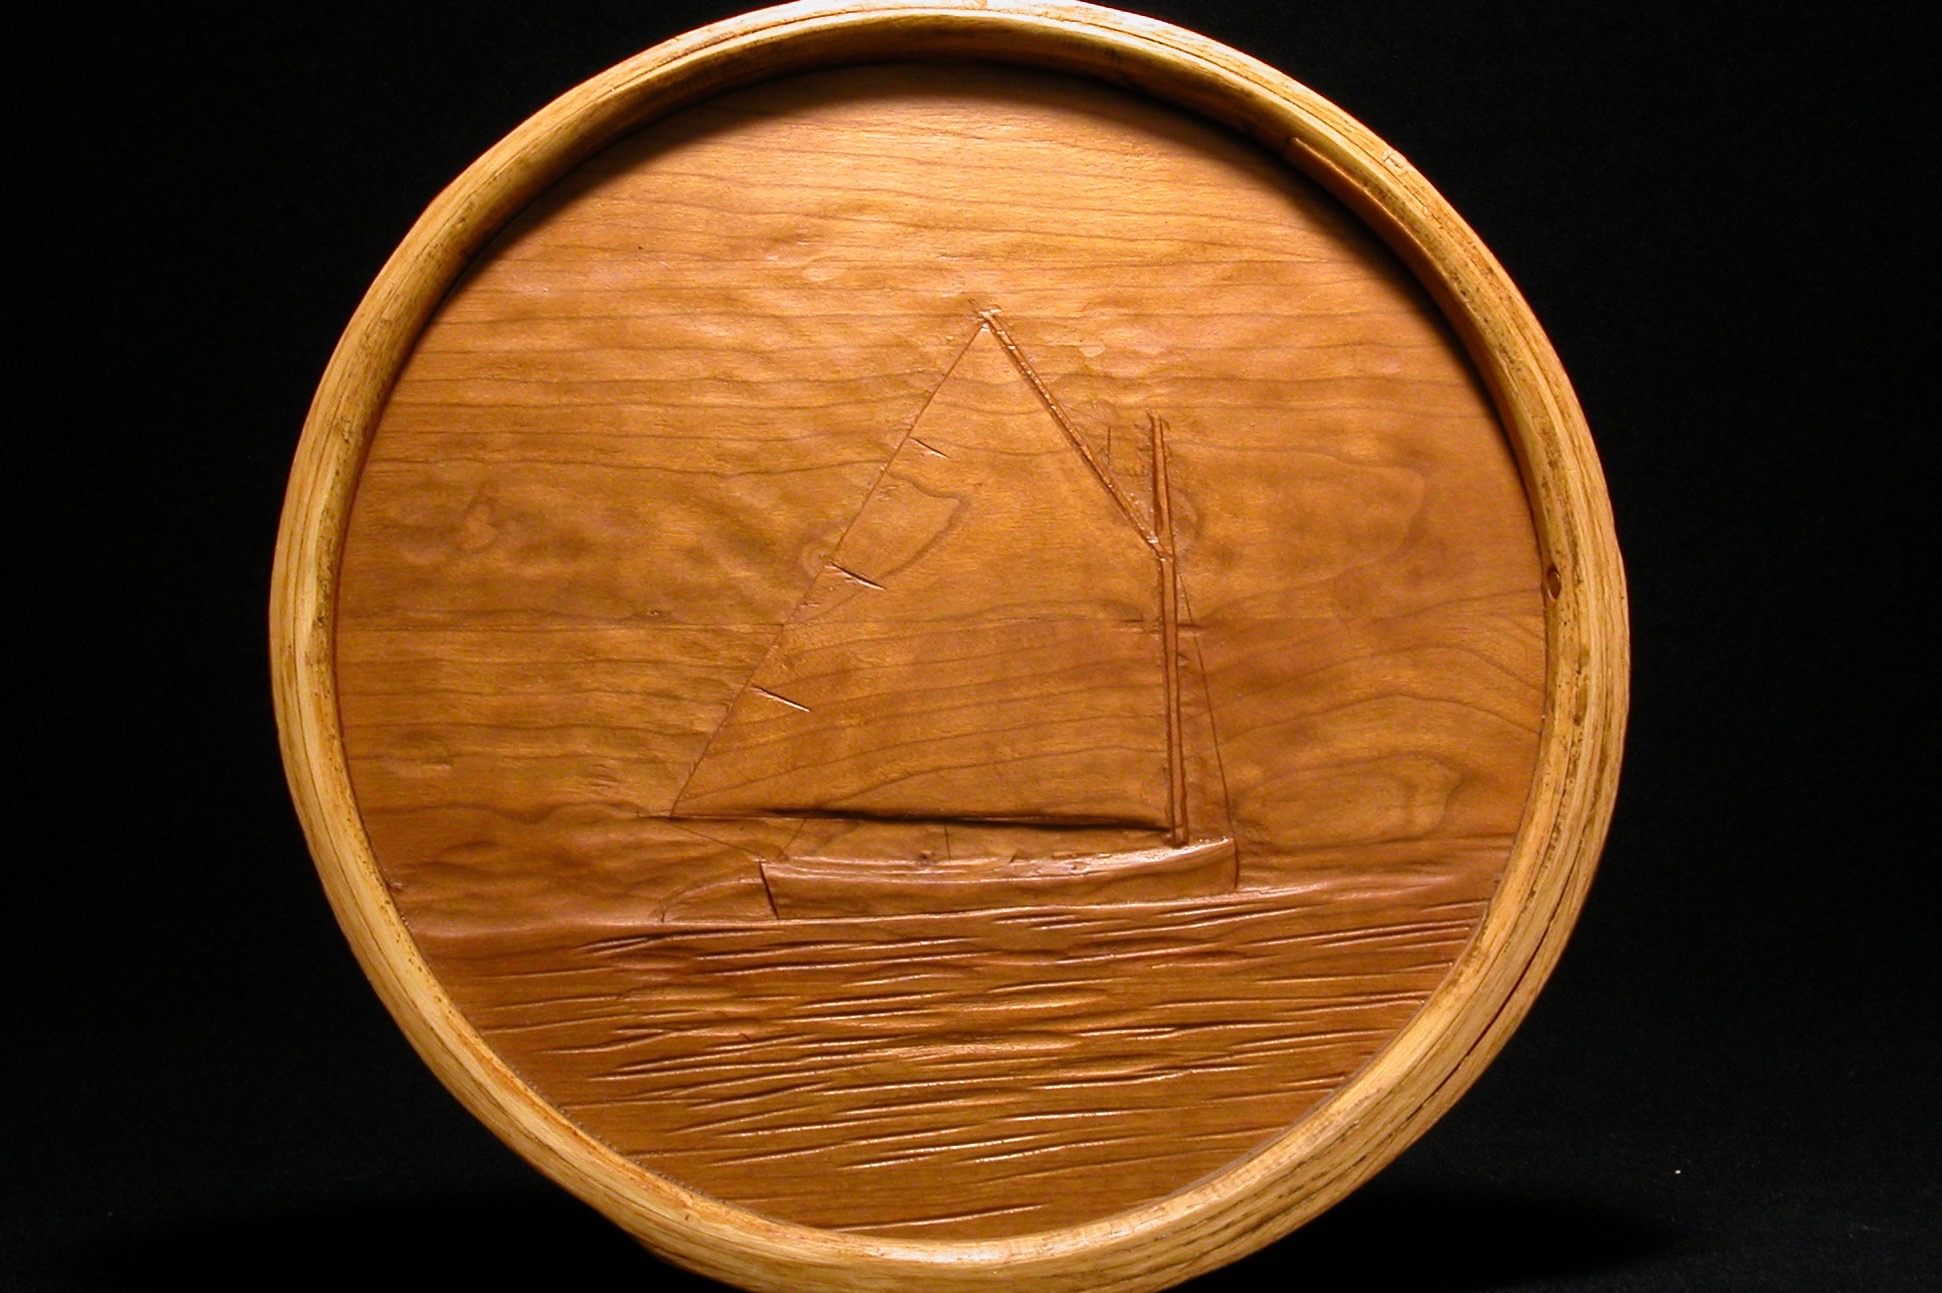
Hand carved sails add a nice touch to a ship portrait.
For me cherry is almost the perfect wood.
You must be logged in to post a comment.