I am on vacation this weekend, but I thought I'd offer a post or two on my favorite topics. The first is on -how not to care for kitchen woodenware - Spoons, bowls, spatulas, and cutting boards.
How To Torture Woodenware


Authentic Nautical Accessories, and Custom Furnishings
I am on vacation this weekend, but I thought I'd offer a post or two on my favorite topics. The first is on -how not to care for kitchen woodenware - Spoons, bowls, spatulas, and cutting boards.

After everything has been tempered in boiling water, it is allowed to dry thoroughly and then given a fine sanding. At this point, I touch up the bowls and any obstinate patches. At last, the spoons, forks, and spatulas are given a final wet sanding using mineral oil. I use a "wet and dry" 400 …
In my last post, I outlined the best methods, tried and proven, for destroying your investment in quality woodenware. Now I know that many "craftspeople" use absolute trash wood for their woodenware - stuff I'd be ashamed to put into my woodstove. But most of us create good quality ware and hope you can use it carefree for a long time.

Around late October, I put some time aside from whatever projects are ongoing in the shop to work on treen - woodenware.

As consumers, there is much that you don't know about your favorite woods.
Working directly from the log always offers surprises.
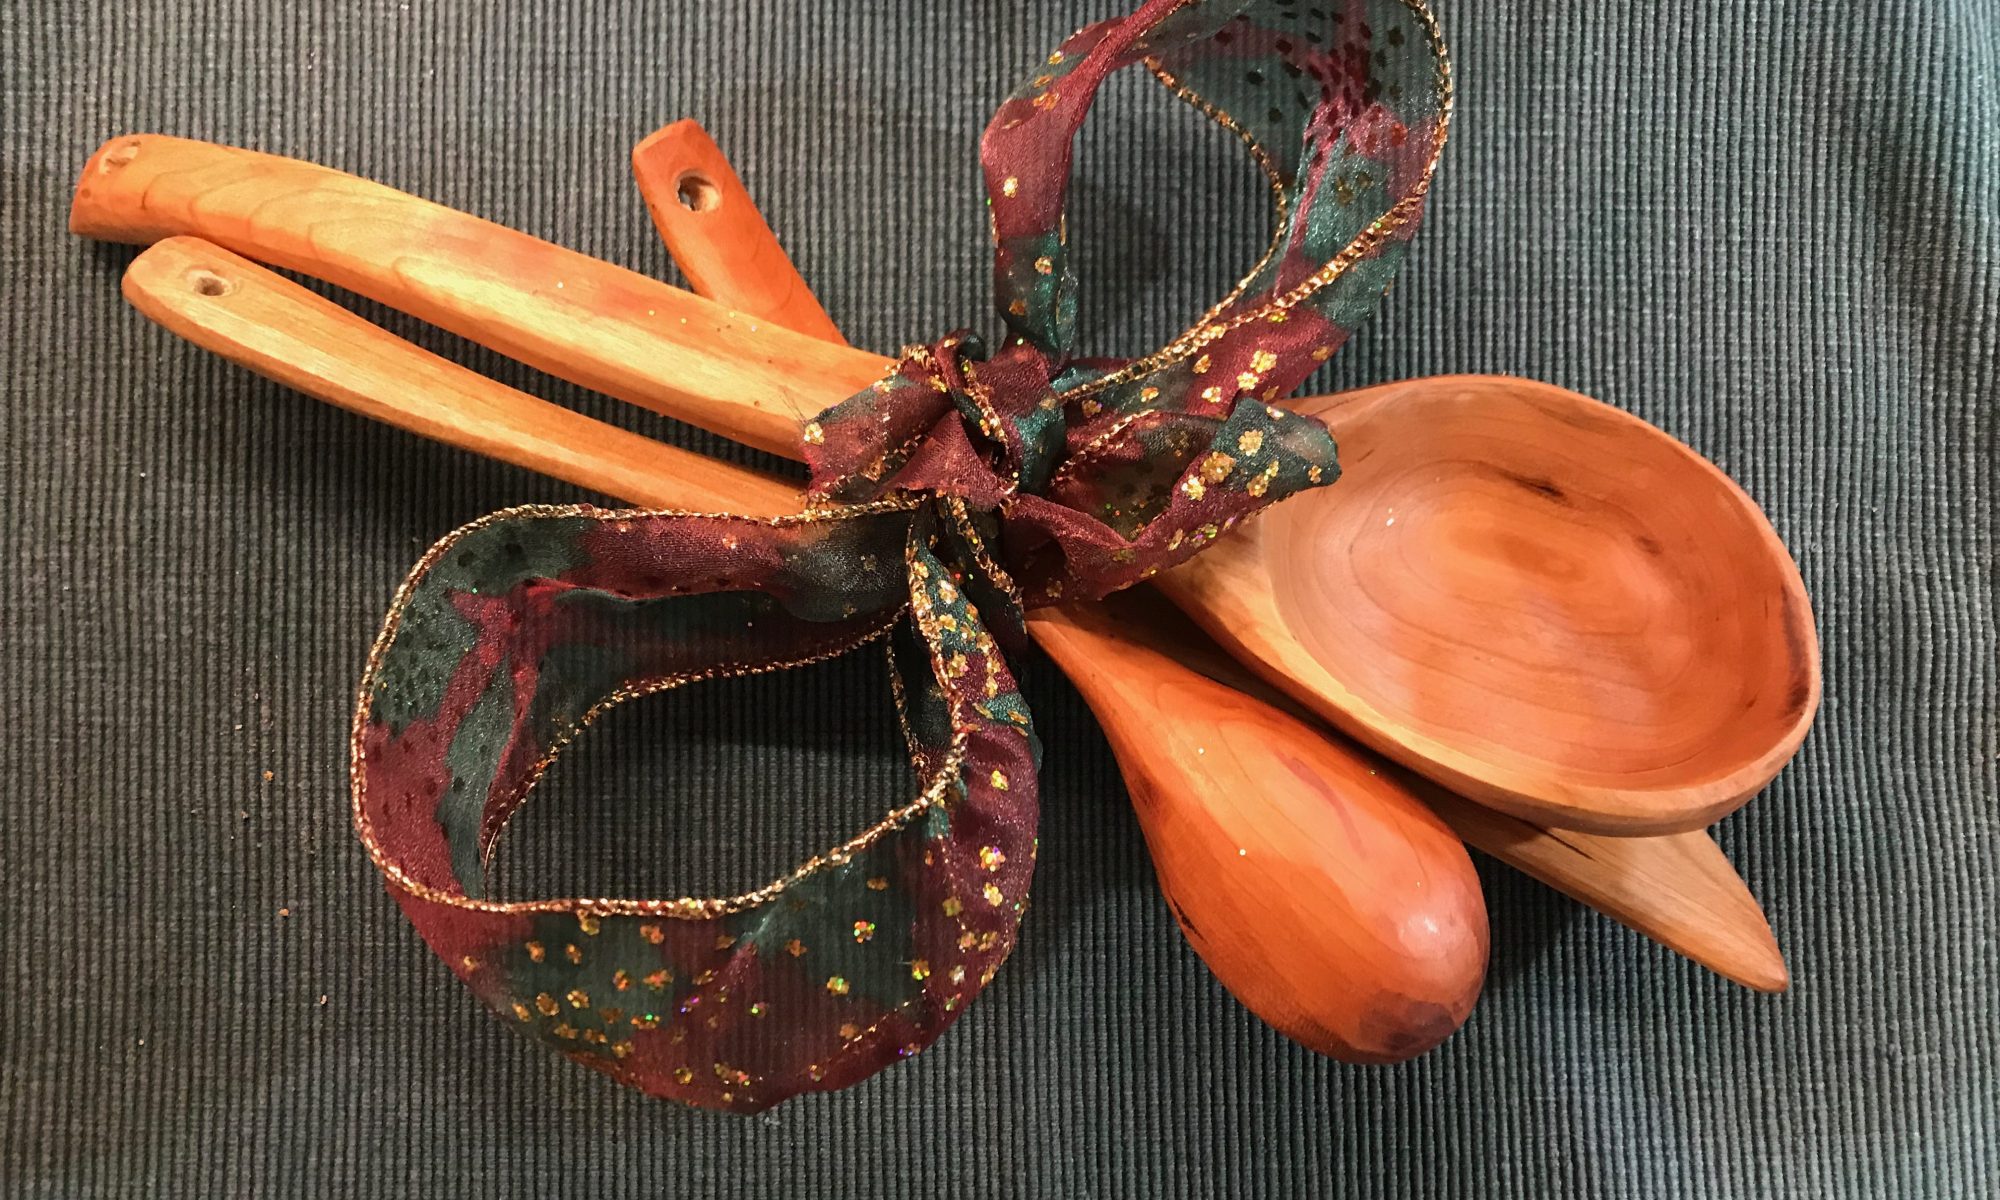
For me cherry is almost the perfect wood.
After tempering the treen is allowed to dry for several days before finishing starts. Finishing begins with cleaning up unfair curves, and rough spots. Sanding with 80 grit, 120 grit and 240 grit sandpaper follow. A final whirl with a sanding mop ( a sort of flap sander in a drill press) acts to polish …
Continue reading "Finishing Treen – luxurious spoons & spatulas"
You must be logged in to post a comment.